Tail Lights
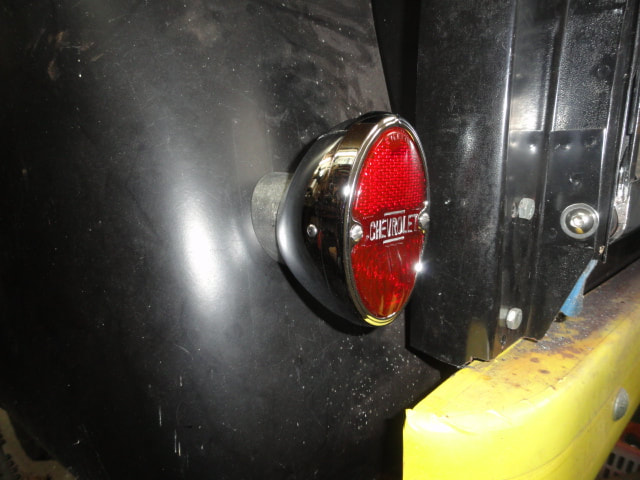
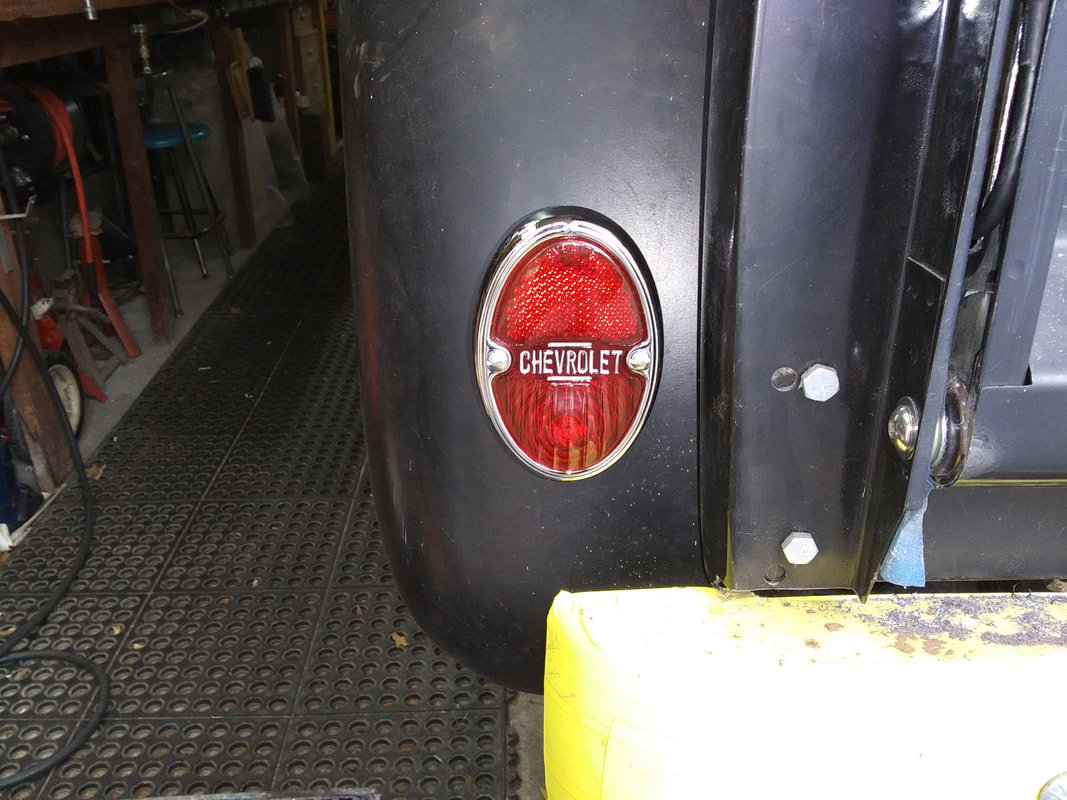
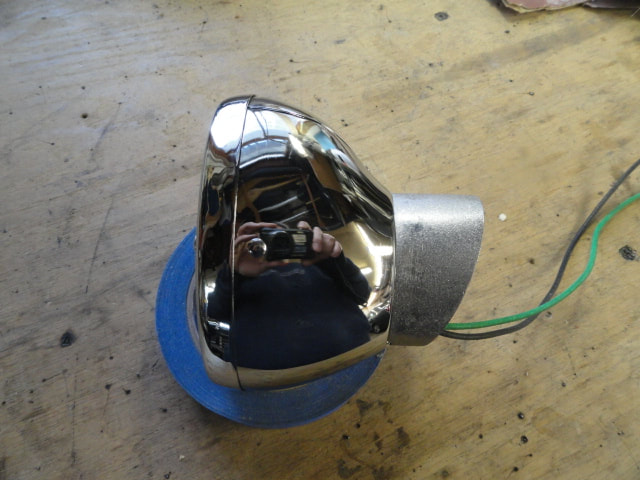
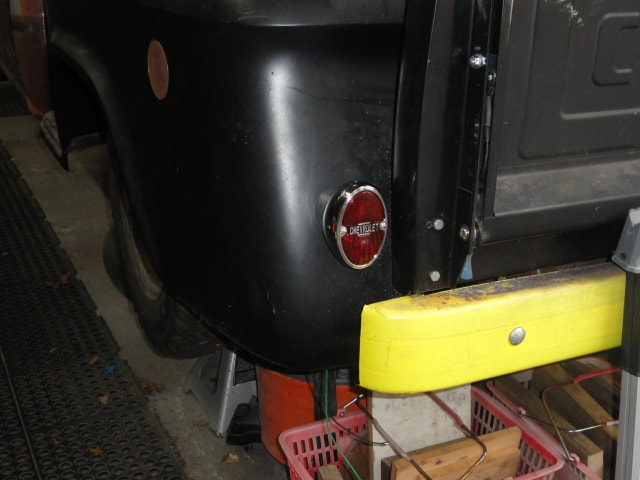
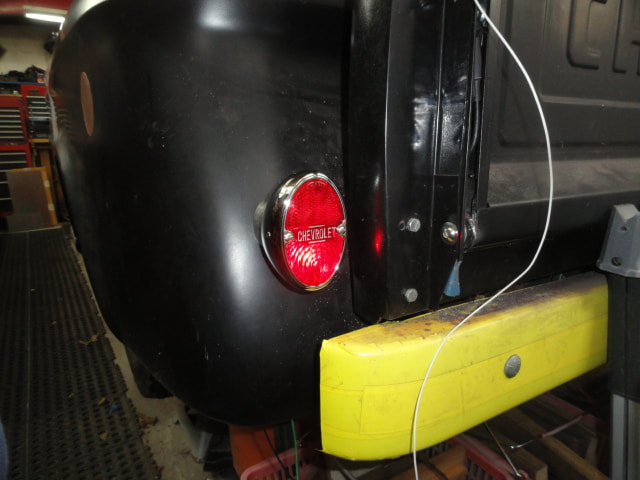
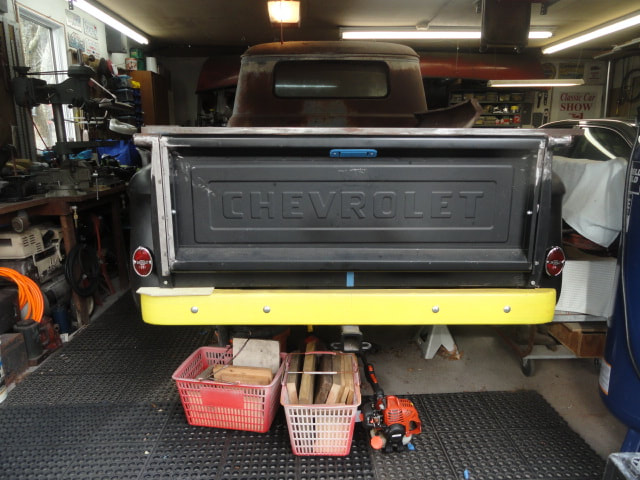
To me, one of the most important details on an old truck, are the tail lights. Back in the 50's - 60's, tail lights were almost and after thought and almost anything was stuck on the back of the trucks . No real design effort was put into them unlike sedans that had sculpted light housings. I wanted something that looked like they belonged there, didn't stand out like a sore thumb, but also had some design. Over the years I came up with different ideas, and even bought some but nothing was doing it for me. At a swap meet I came across a tail light for my 31 Chevy truck (elsewhere on this website), I held it up to the 57 and I liked the look. I then went in search for a useable set of them and found The Filling Station that carried reproduction lights. When I went to order them, there was a bit of shell sock at the price which got me to looking at their catalog and that's when I found these 33 - 35 Chevy Sedan tail lights. They were similar in size and shape as the 31, but the housing had a unique shape I liked, and the cost was a bit more palatable, we have a winner!
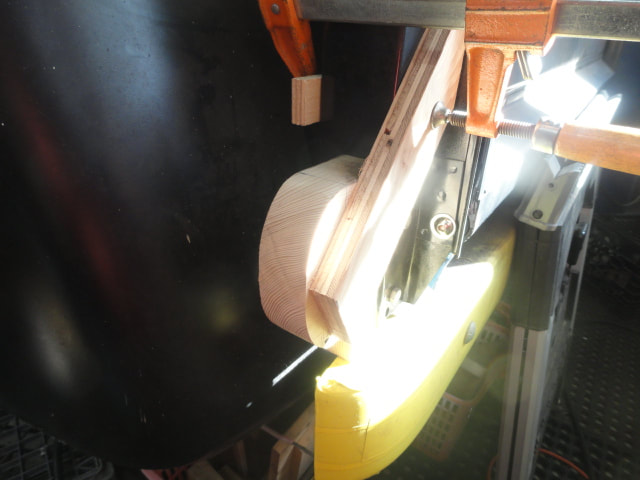
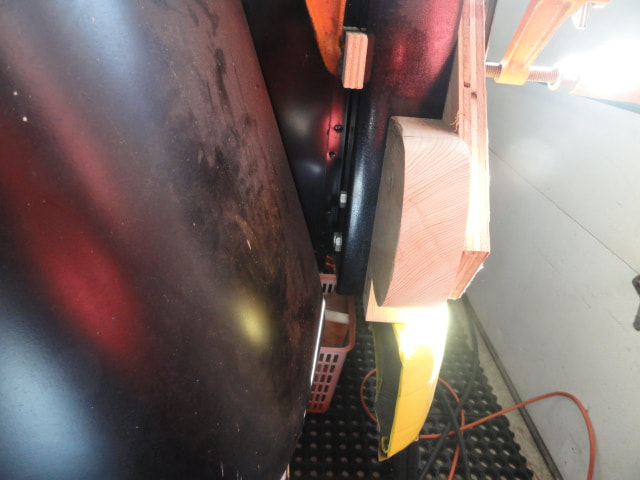
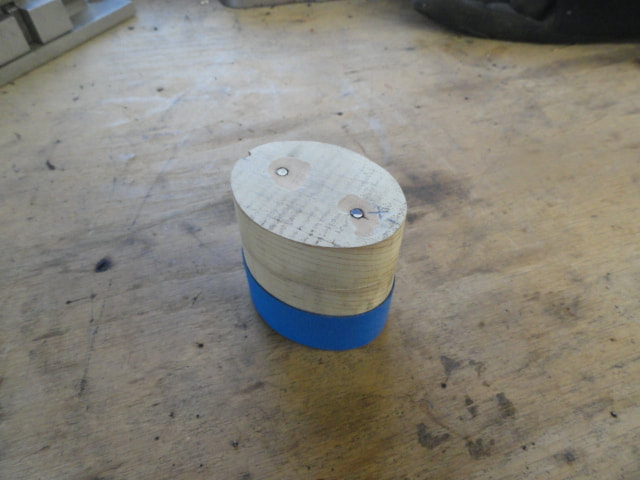
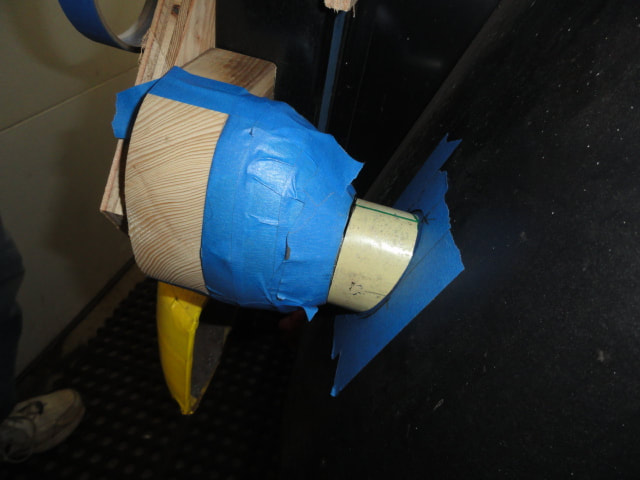
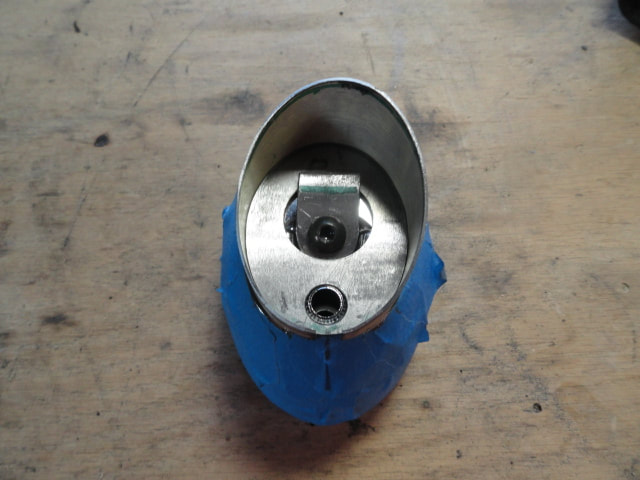
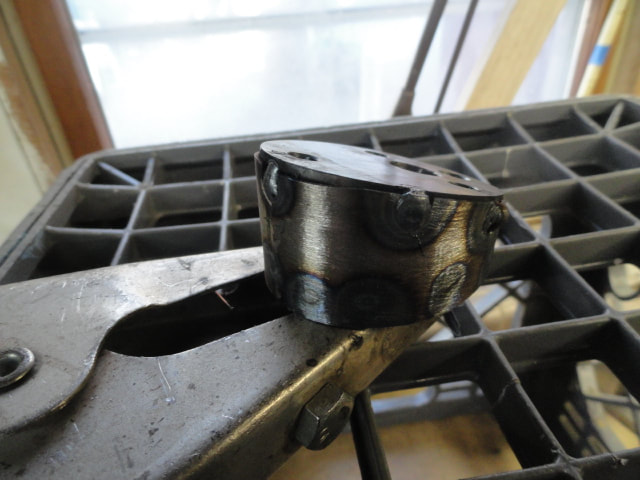
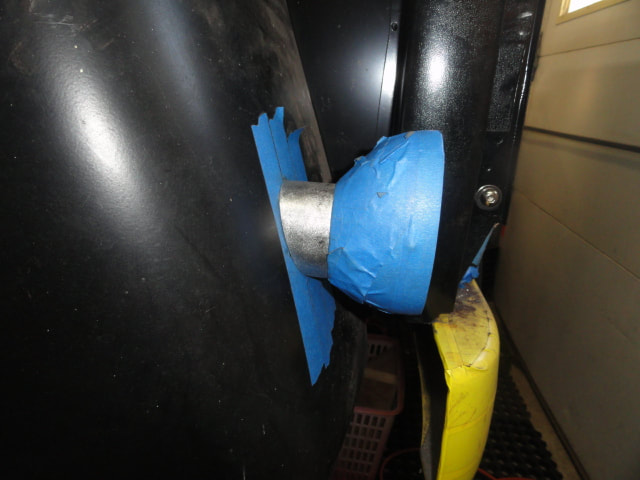
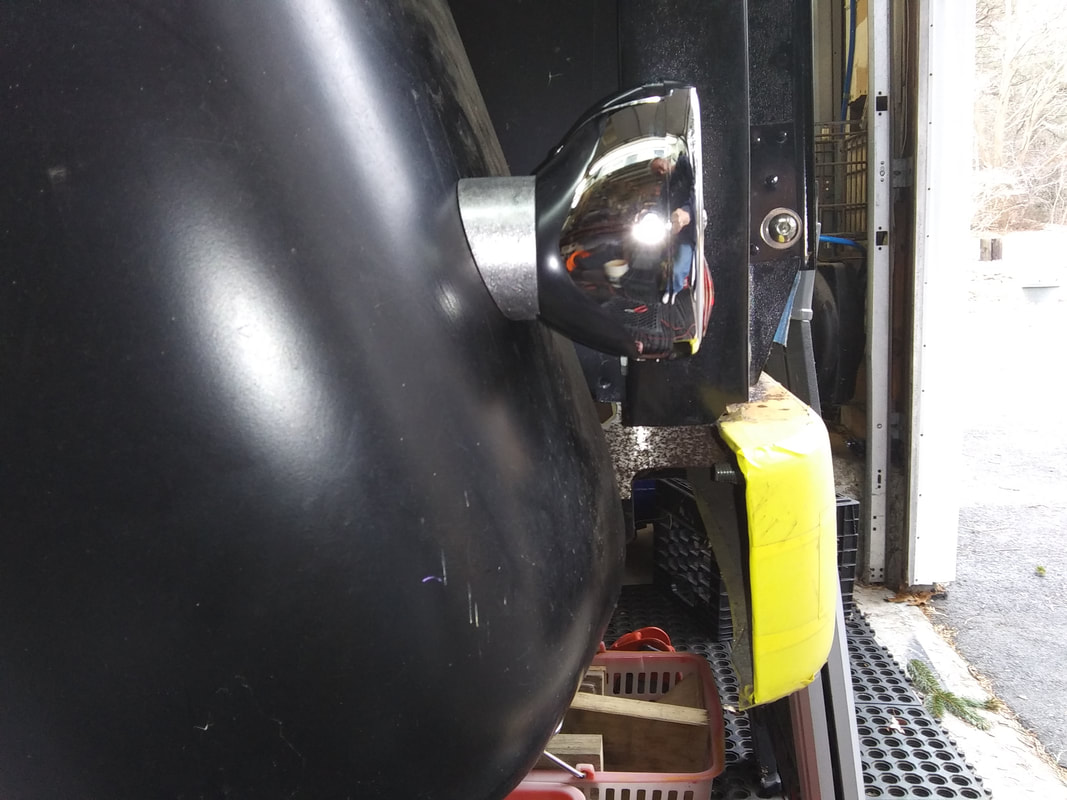
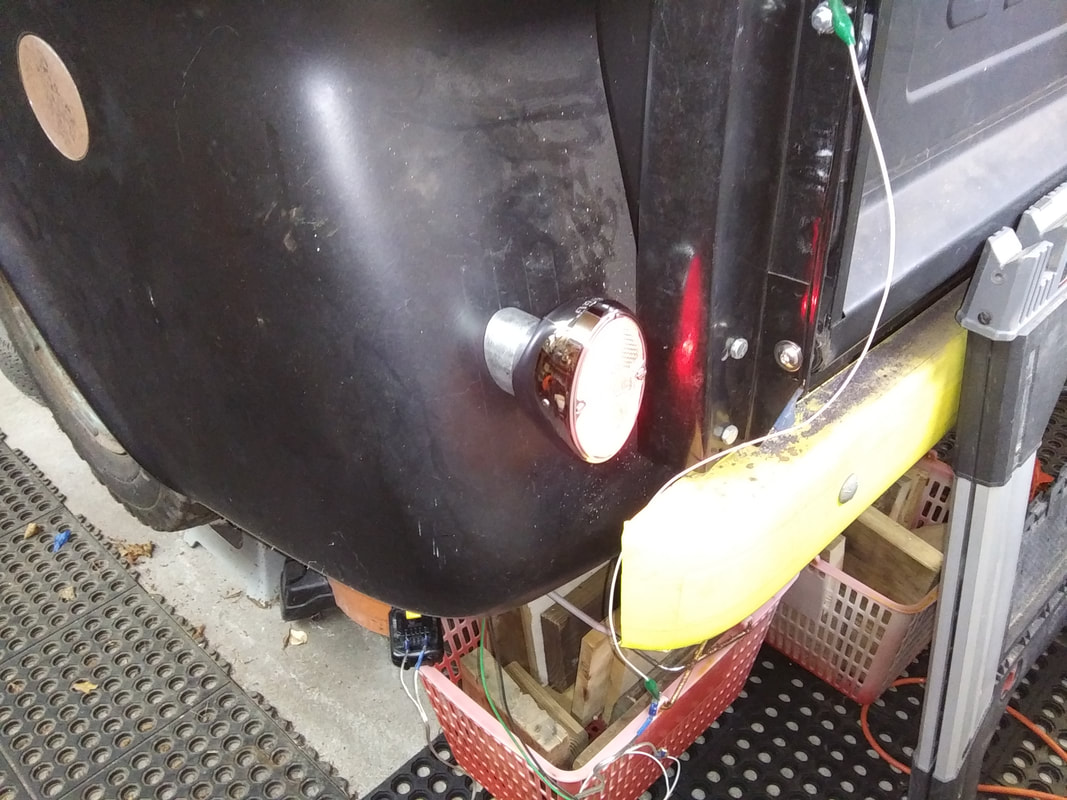
To mount them to the 57, I had to make spacers that would adapt them to the rear fender. I decided on the positioning of the light then made a wooden support that would hold them in that position for fitting. I then made an oval shape wooden buck to match the mounting platform on the light housing to form the basic mount tube. The tube was trimmed to fit the contour of the fender, then the length shortened as required so the light would sit in the desired position. A paper pattern was made of the first fitted tube and transferred to the tube for the other side which made the fitting of the second tube easier.
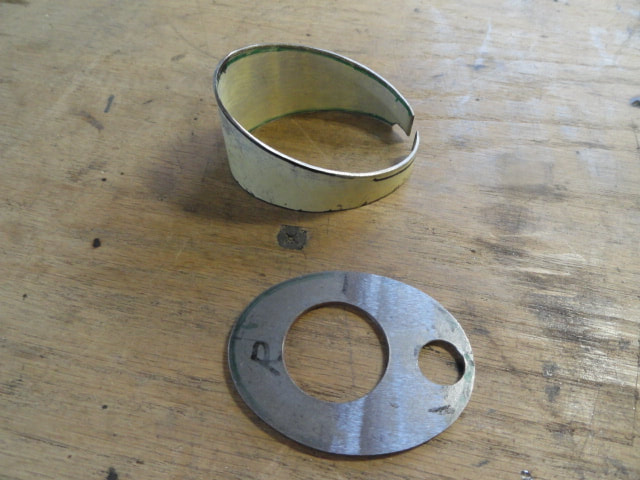
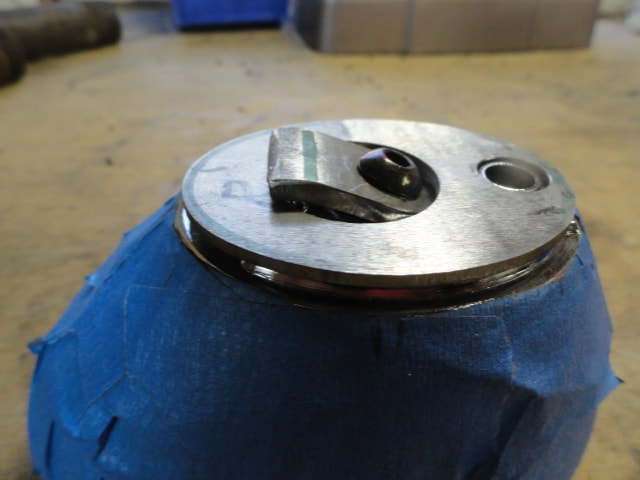
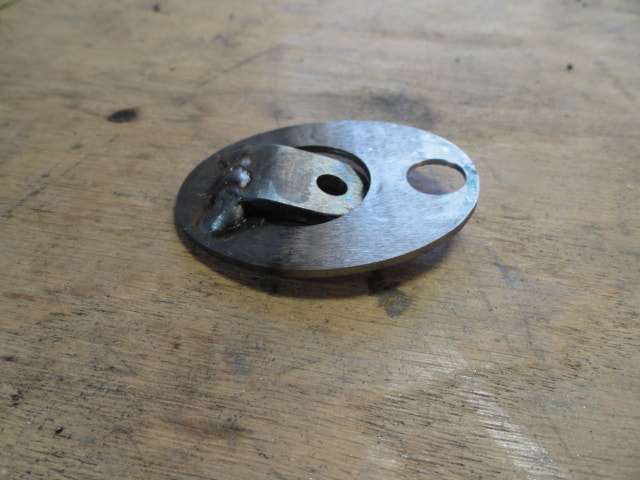
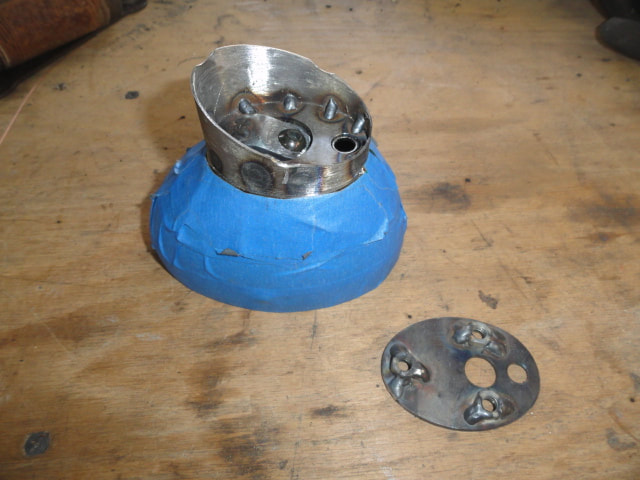
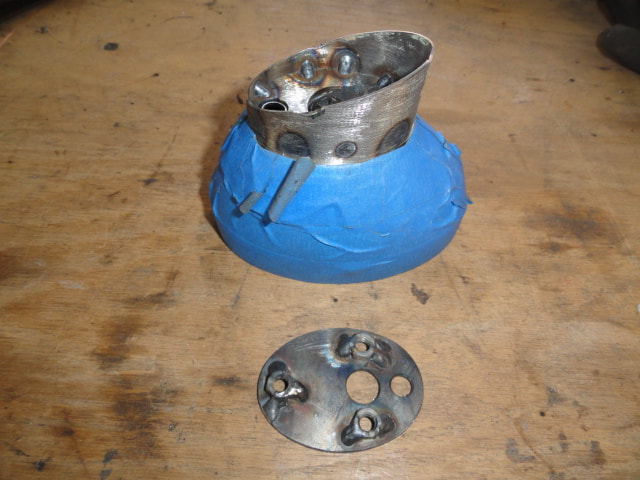
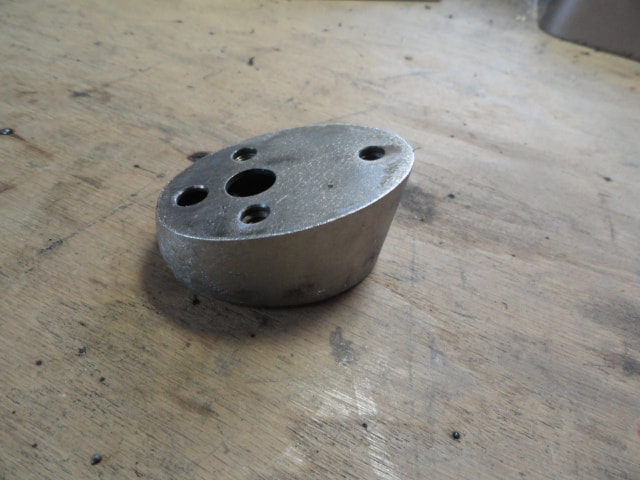
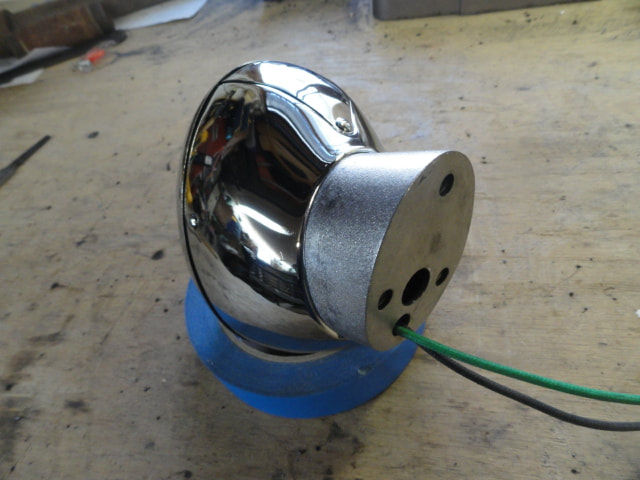
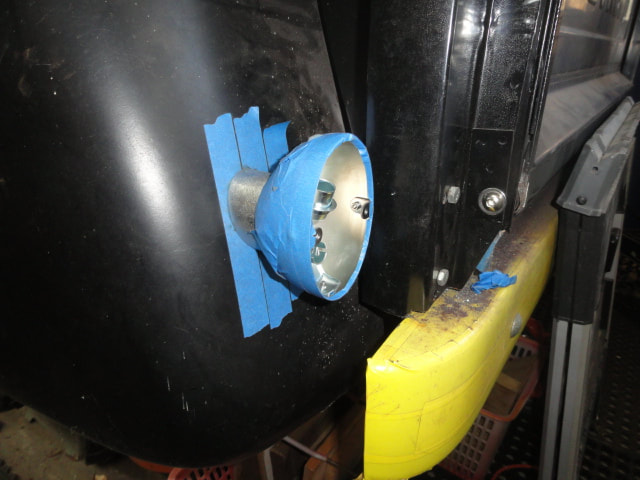
Two end plates were fabricated, one to bolt to the light and the other to bolt to the fender. The plate that is adjacent to the fender has 3, 1/4-20 nuts welded in place for the mounting bolts to screw into from the fender side. Before the nuts were welded on, the plates were located in place on the fender and used as a drill guide for the mount bolt holes. There is an hole in each plate for the wiring to pass through and an extra hole in the fender plate to access the mounting bolt for the light housing. Once the plates were fabricated they were welded to the tube, and bingo the adapters were made.
To mount them to the 57, I had to make spacers that would adapt them to the rear fender. I decided on the positioning of the light then made a wooden support that would hold them in that position for fitting. I then made an oval shape wooden buck to match the mounting platform on the light housing to form the basic mount tube. The tube was trimmed to fit the contour of the fender, then the length shortened as required so the light would sit in the desired position. A paper pattern was made of the first fitted tube and transferred to the tube for the other side which made the fitting of the second tube easier.
Two end plates were fabricated, one to bolt to the light and the other to bolt to the fender. The plate that is adjacent to the fender has 3, 1/4-20 nuts welded in place for the mounting bolts to screw into from the fender side. Before the nuts were welded on, the plates were located in place on the fender and used as a drill guide for the mount bolt holes. There is an hole in each plate for the wiring to pass through and an extra hole in the fender plate to access the mounting bolt for the light housing. Once the plates were fabricated they were welded to the tube, and bingo the adapters were made.