New Bed & Rear Bumper
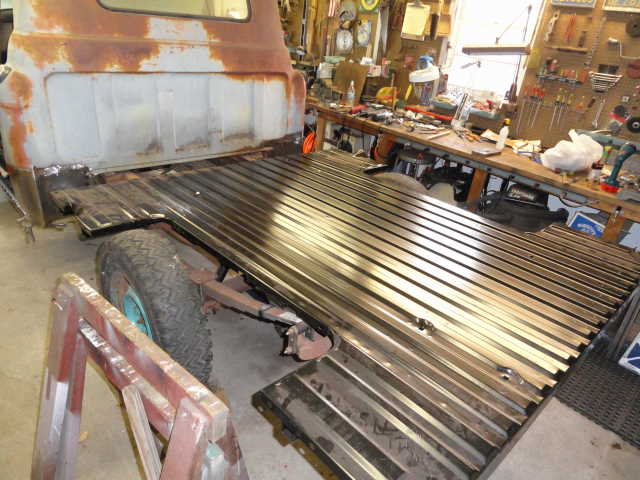
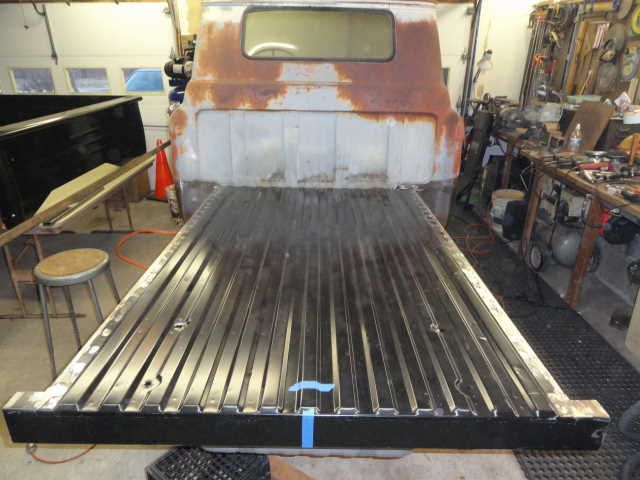
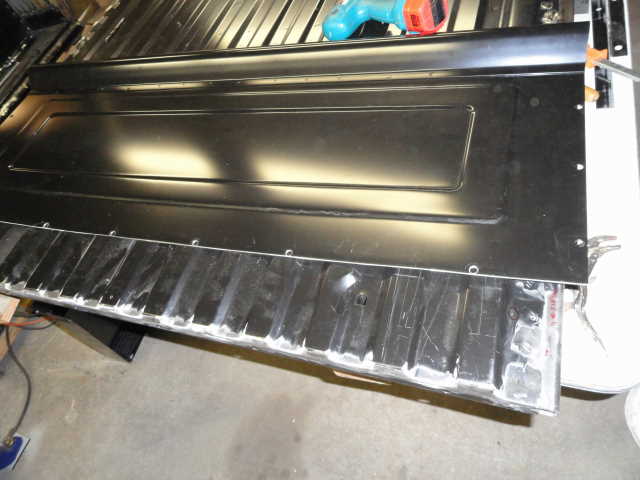
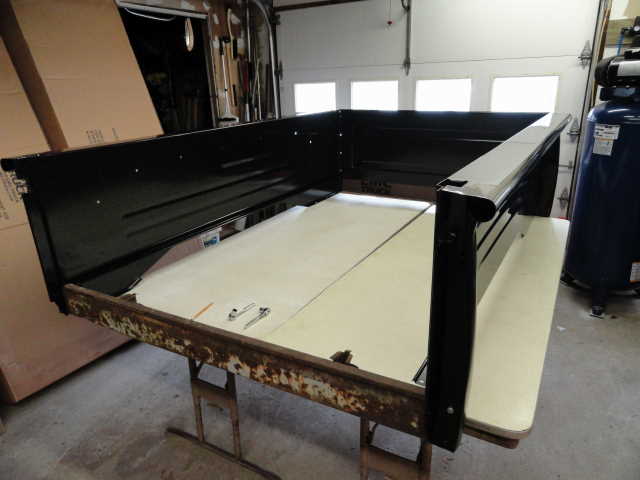
The bed sides, front and tailgate are all standard 57 parts from LMC Truck, the bed floor is also from LMC but it is for a mid-70's truck fleet side. I wanted to do something different than the normal wood floor for the bed but I didn't like the look of "diamond plate" that I have seen some folks use. The look of the new style bed floor works well and most people won't know it doesn't belong.
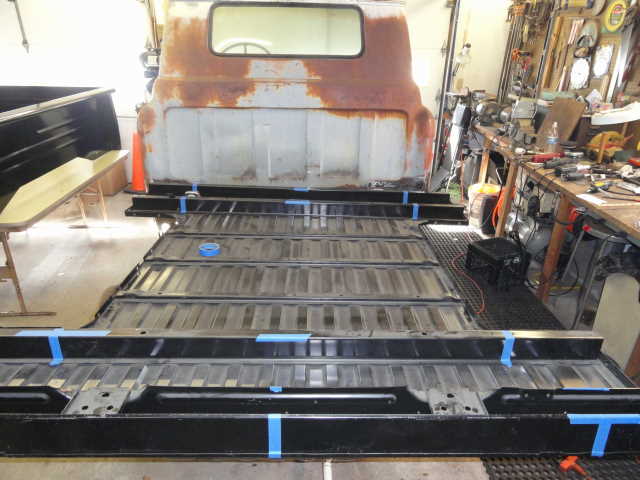
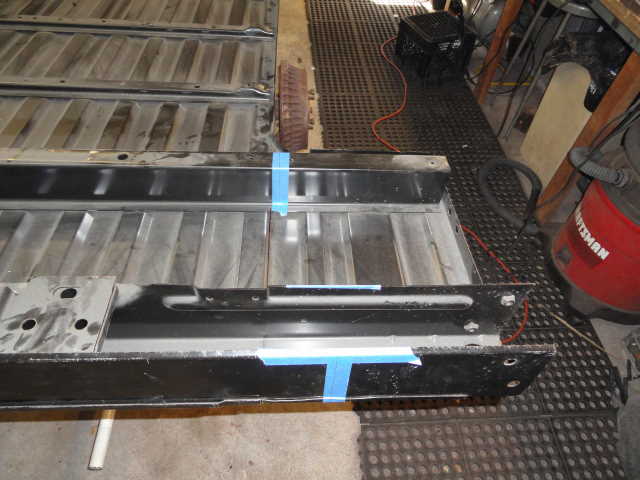
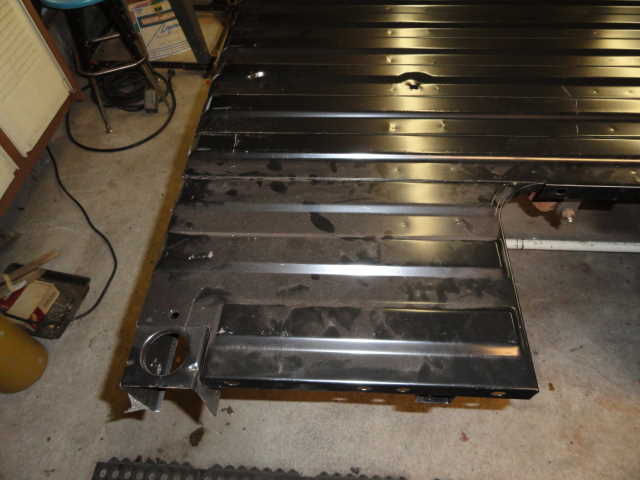
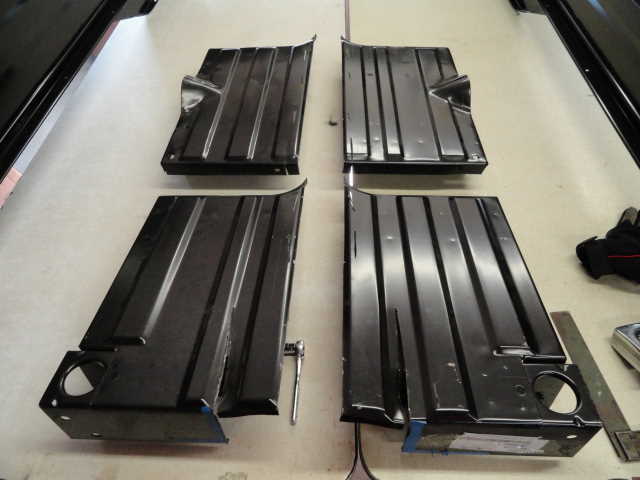
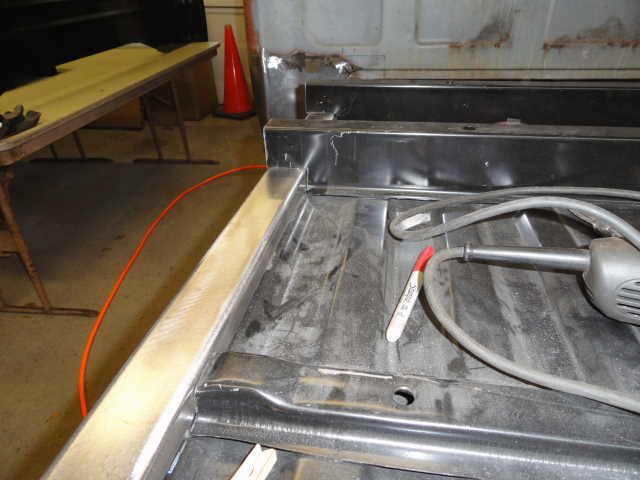
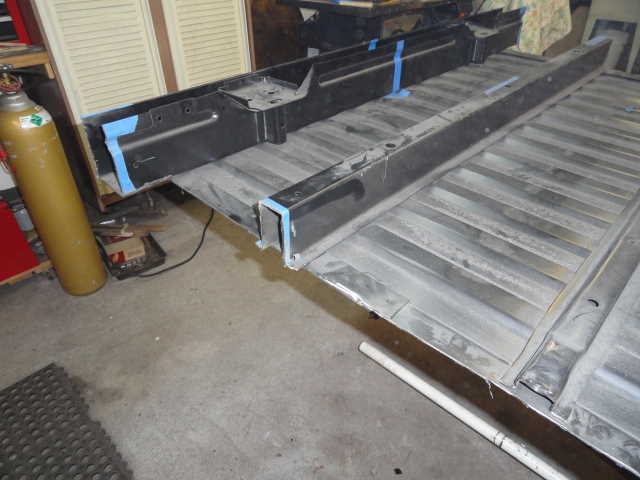
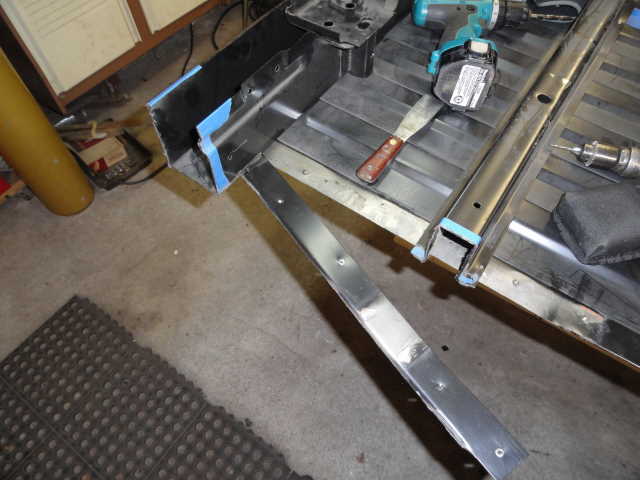
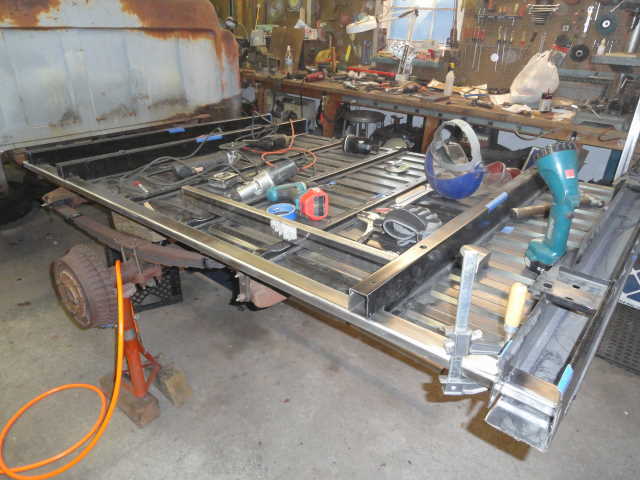
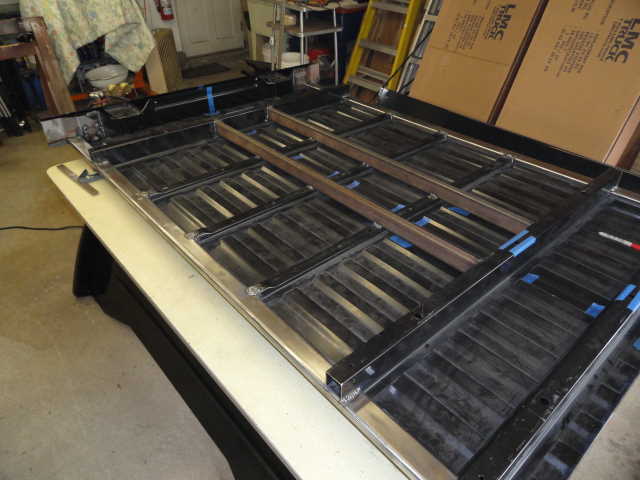
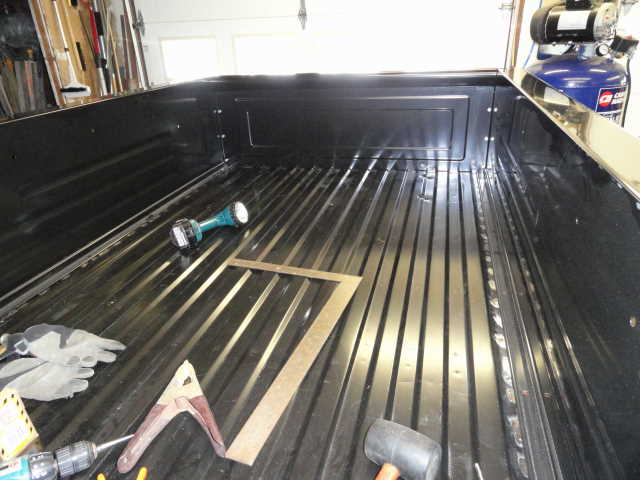
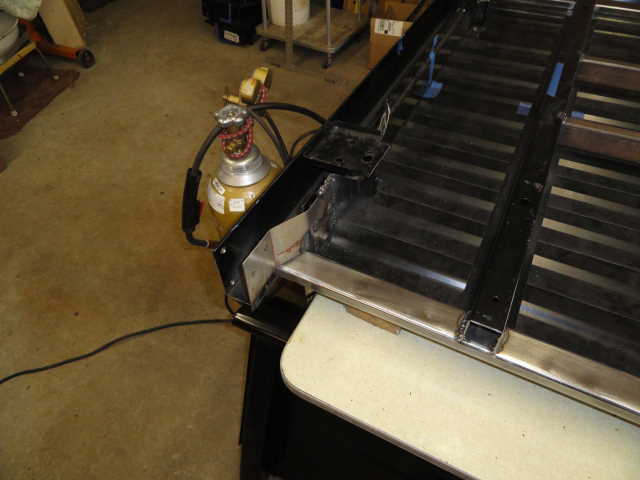
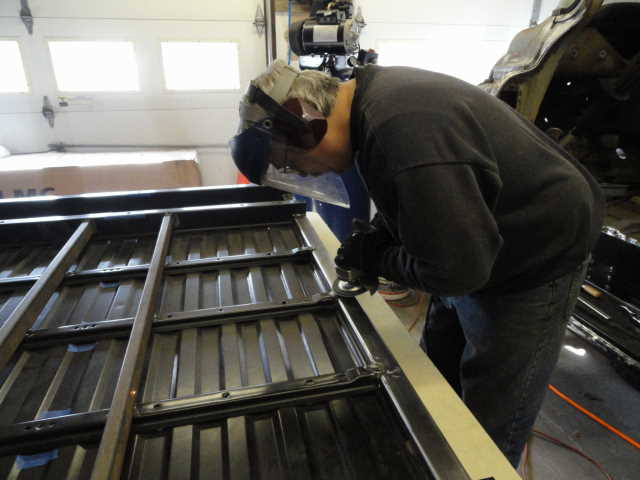
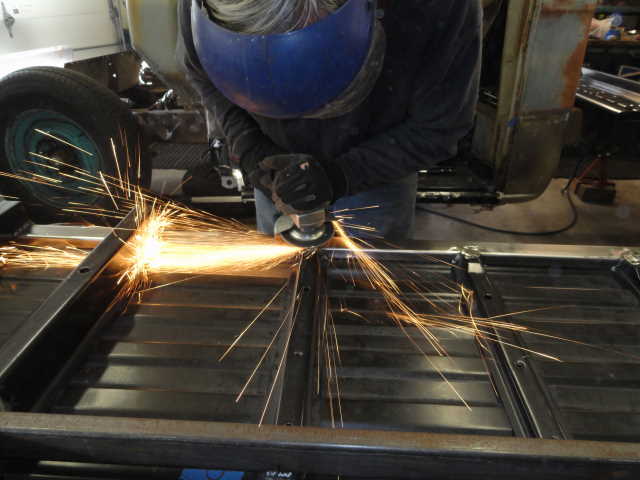
Work started by cutting off the steps in the floor for the fleet side and cutting the cross braces to 50" for the step side bed. The space between the wheel well openings is only 49" so the floor needed to be widened. I did this by adding 1"x2" tubing down both sides; this meant the under floor cross braces had to be cut shorter or notched to allow for the tube. The floor is also about 1/4" to long so the front flange was cut off and welded back on in the shorter position. The rear cross member ends needed to be narrowed to fit the up rights. The last mod was to add a couple additional braces to support the mid-section of the floor.
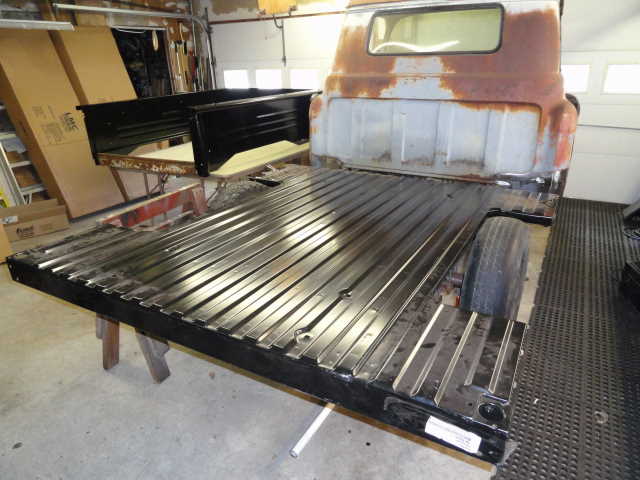
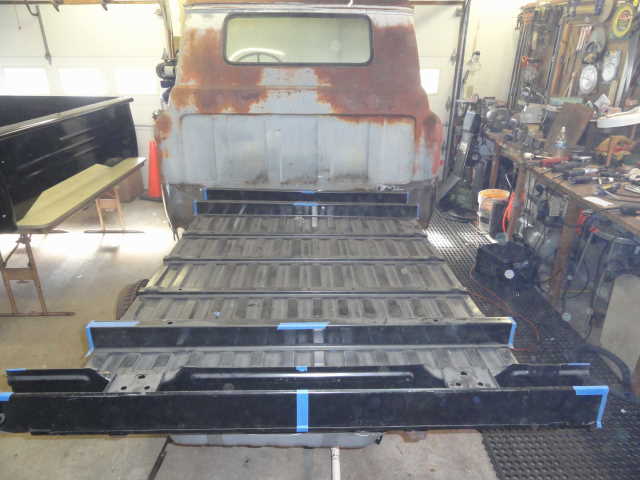
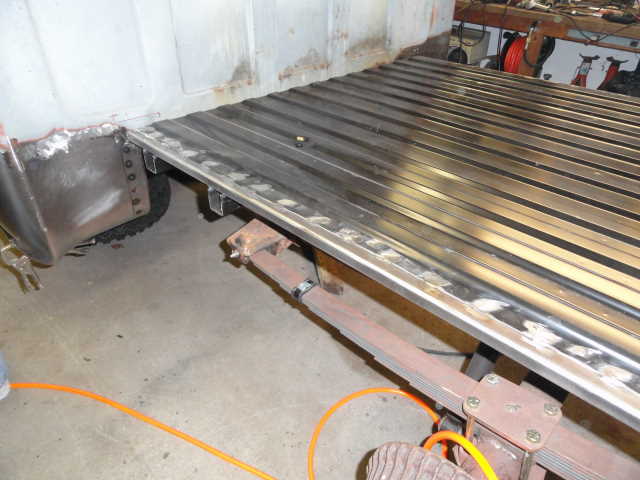
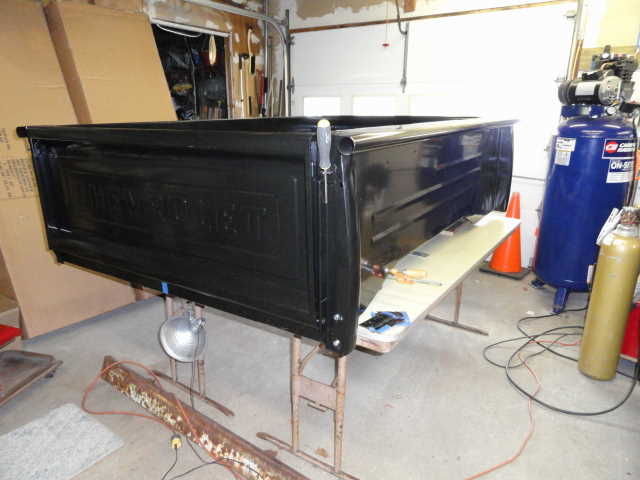
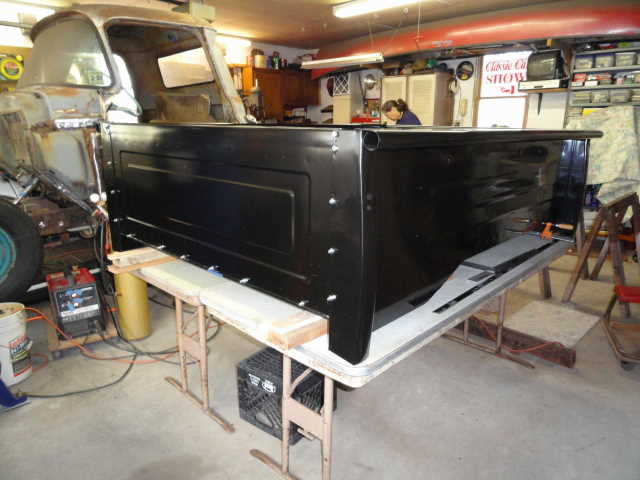
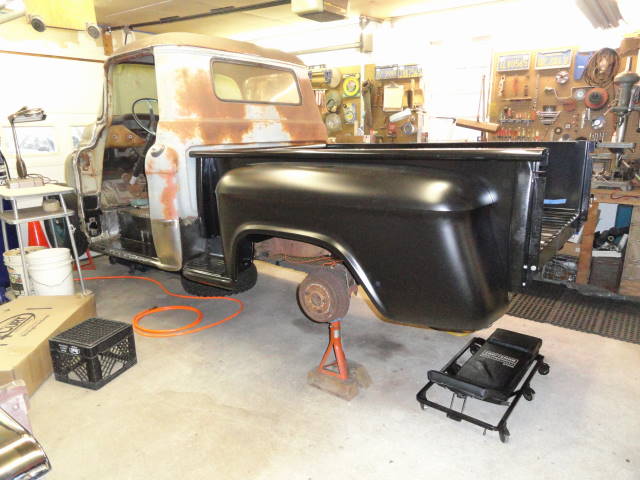
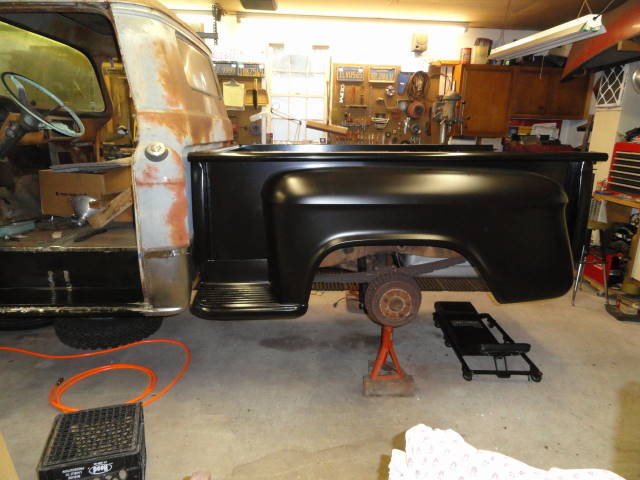
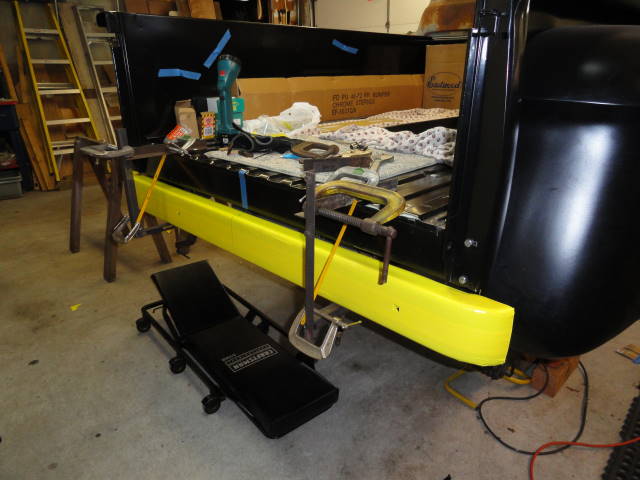
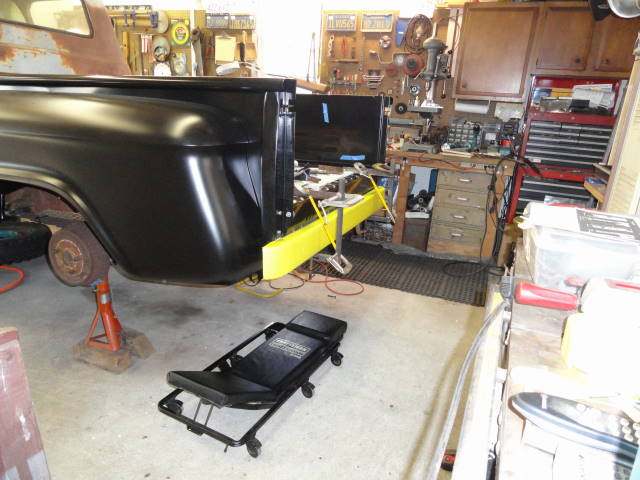
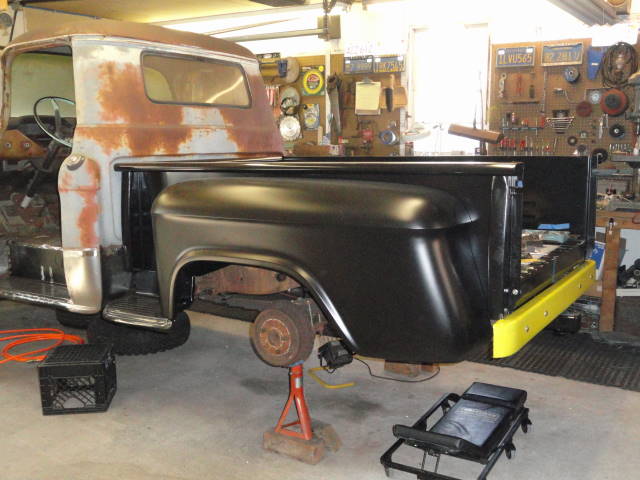
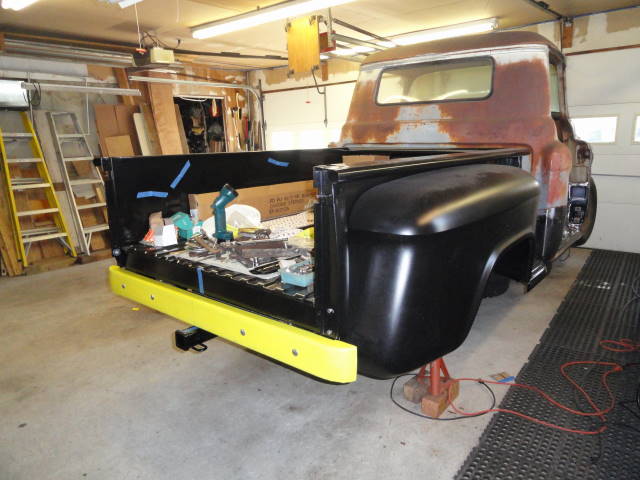
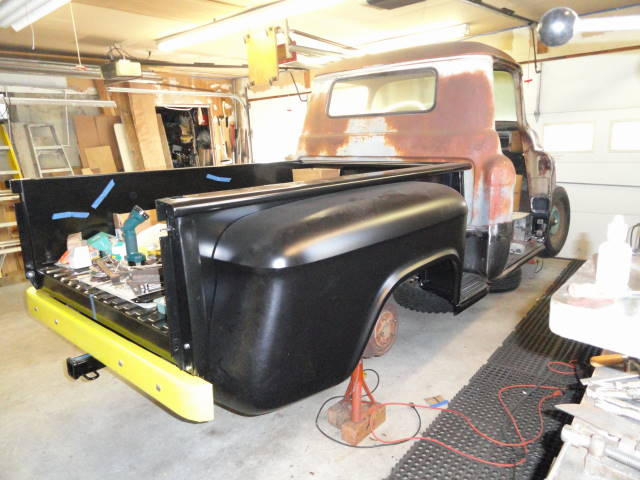
With the cutting and welding completed, the rest of the bed was assembled and looking good. Next it was time to position the complete bed on the truck frame. The rear cross brace was interfering with the rear frame cross brace so the bed brace was trimmed allowing the complete bed to move forward with a gap between the bed and the truck body of about 3/4". This put the front bed cross brace in the same position as the original brace and with the bed centered on the frame, the mounting holes were almost lined up. With the bed centered up and in the correct for / aft position, the 8 mounting holes were drilled through the frame and the bed bolted down.
Work started by cutting off the steps in the floor for the fleet side and cutting the cross braces to 50" for the step side bed. The space between the wheel well openings is only 49" so the floor needed to be widened. I did this by adding 1"x2" tubing down both sides; this meant the under floor cross braces had to be cut shorter or notched to allow for the tube. The floor is also about 1/4" to long so the front flange was cut off and welded back on in the shorter position. The rear cross member ends needed to be narrowed to fit the up rights. The last mod was to add a couple additional braces to support the mid-section of the floor.
With the cutting and welding completed, the rest of the bed was assembled and looking good. Next it was time to position the complete bed on the truck frame. The rear cross brace was interfering with the rear frame cross brace so the bed brace was trimmed allowing the complete bed to move forward with a gap between the bed and the truck body of about 3/4". This put the front bed cross brace in the same position as the original brace and with the bed centered on the frame, the mounting holes were almost lined up. With the bed centered up and in the correct for / aft position, the 8 mounting holes were drilled through the frame and the bed bolted down.

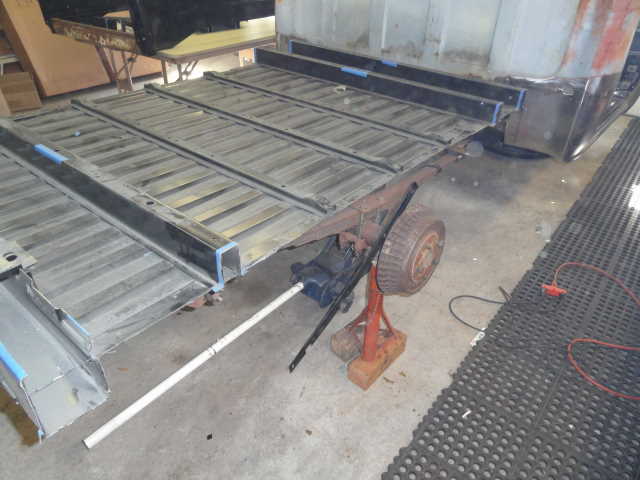


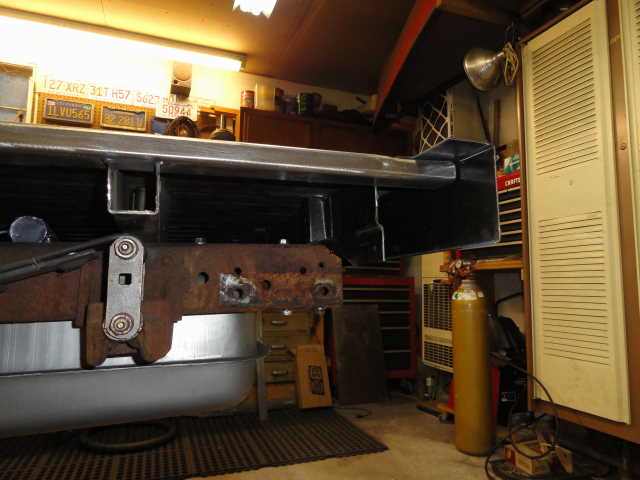


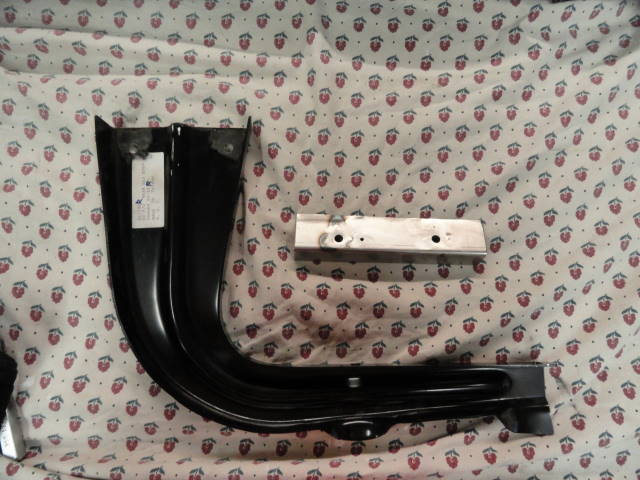
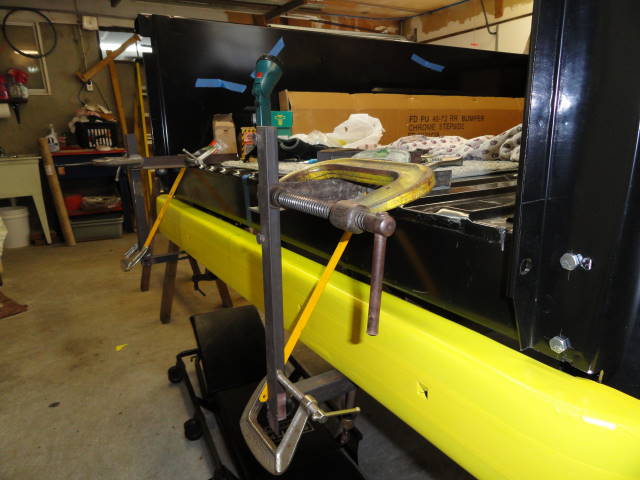
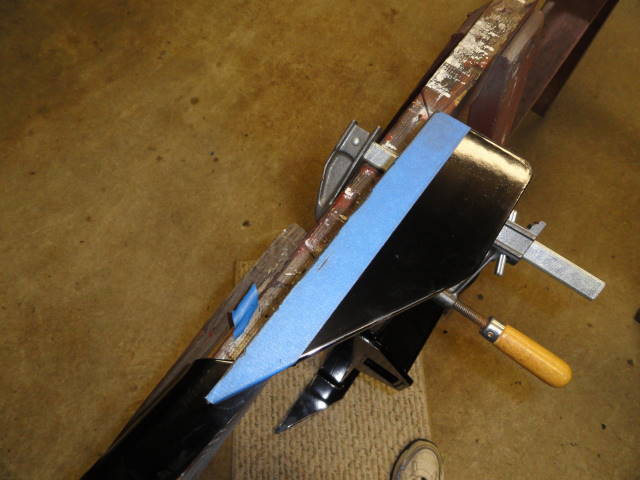
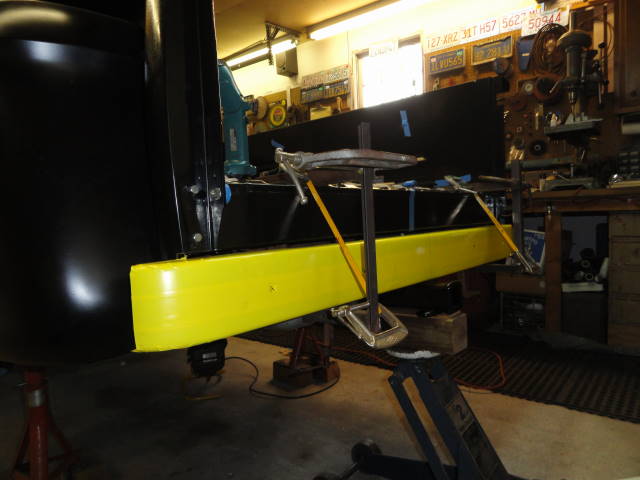
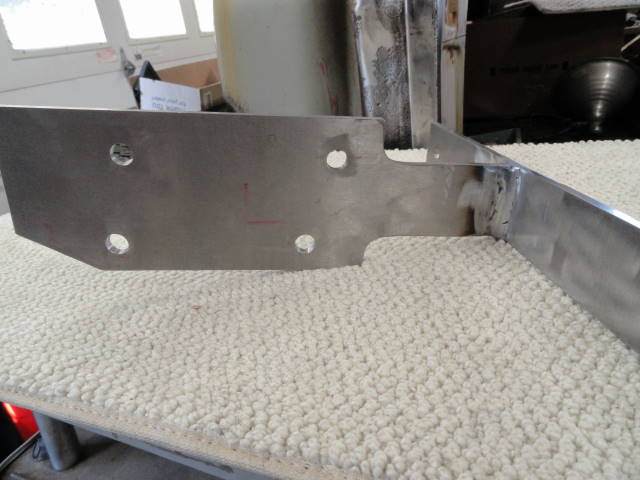
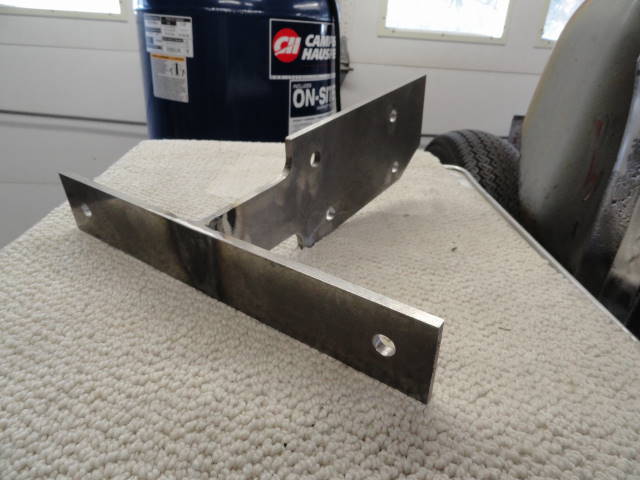
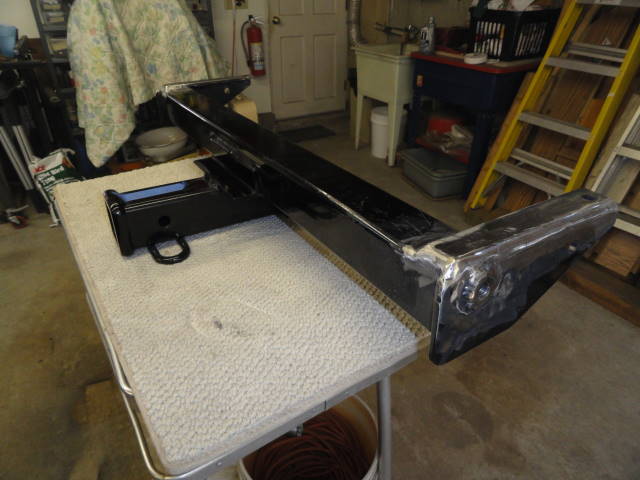
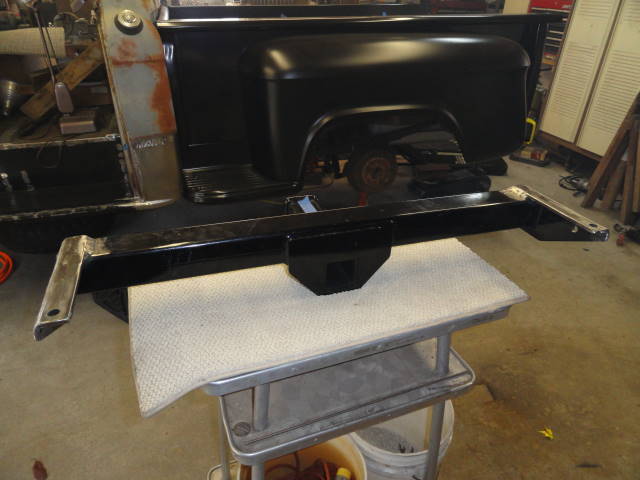
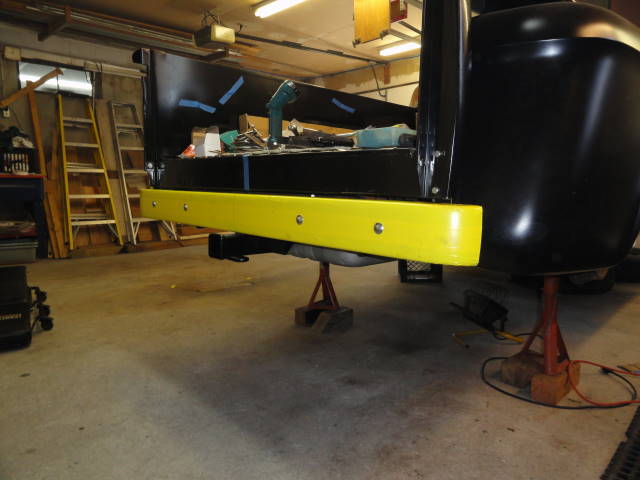
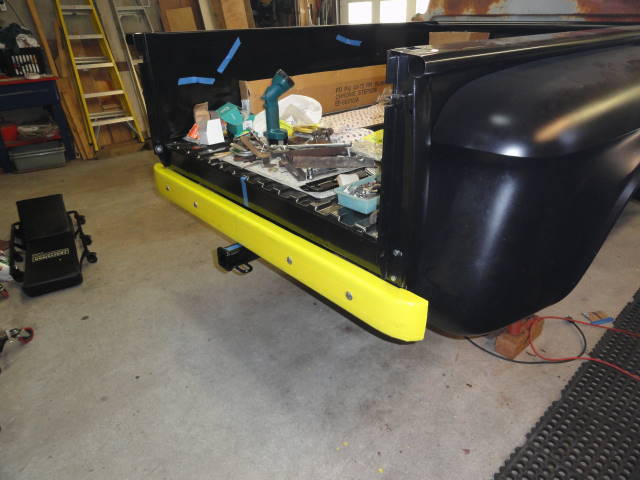
Next came the bumper and tow receiver. I don't like the look of the factory rear bumper as it just doesn't fit the truck and looks like an afterthought, which I guess they were. After looking at a lot of other trucks and poring through lots of magazines and catalogs, I made the painful decision to go with a mid-50's Ford bumper. I made a couple brackets to hold the bumper in position while it and the hitch were fitted and mounting brackets can be made. The hitch receiver is for a mid-60's truck and with a little modification will fit nicely tucking up tight to the frame and behind the bumper, so just the receiver portion will be visible.
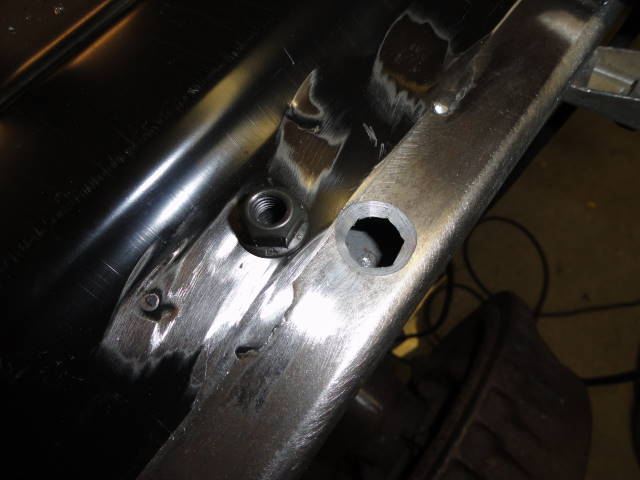
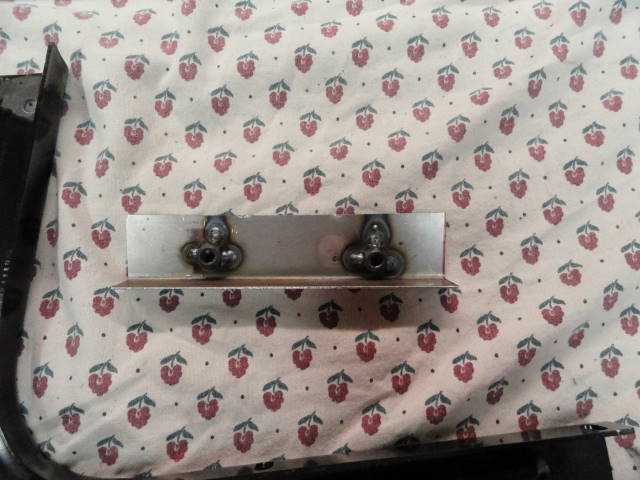
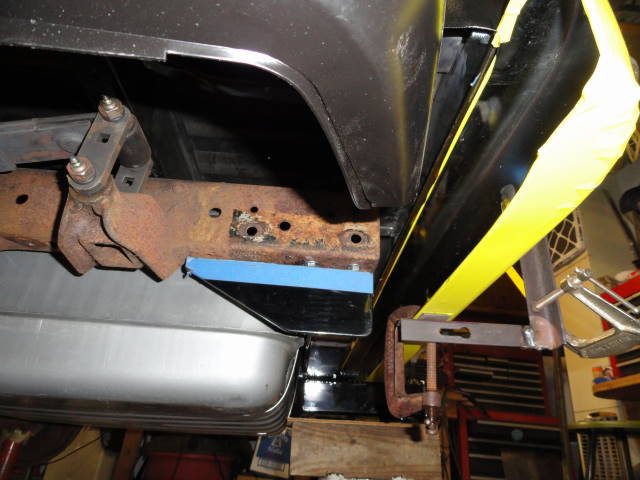
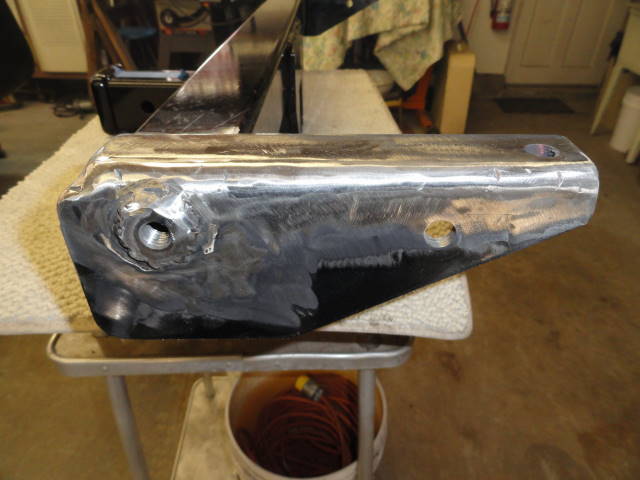
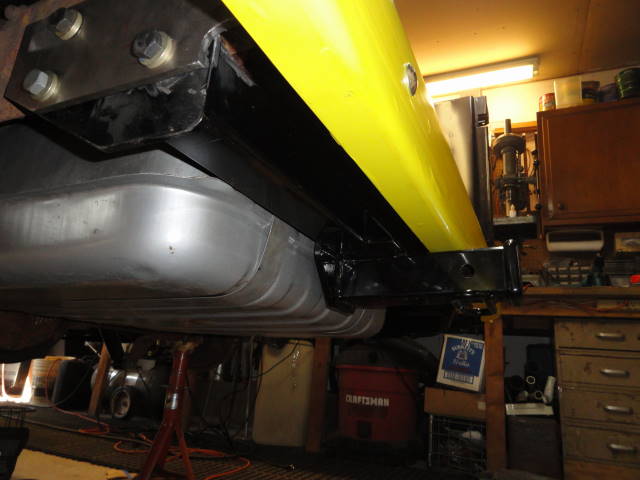
The receiver hitch was modified by removing 1 1/4" in height of the side mounting plates. This was done by cutting a section out of the end plates and welding the top return portion of the end plates back on. Not having a lot of room to work with, a mounting bolt will come through the side in the closed off area of the main cross tube. A 3/4" hole was drilled into the plate and a flange nut inserted and welded into place.
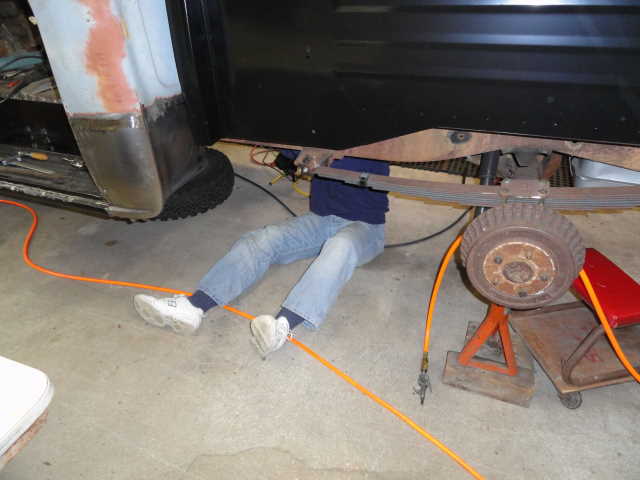
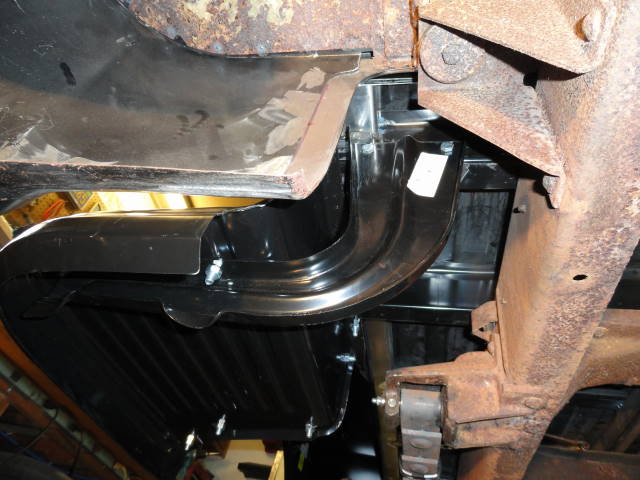
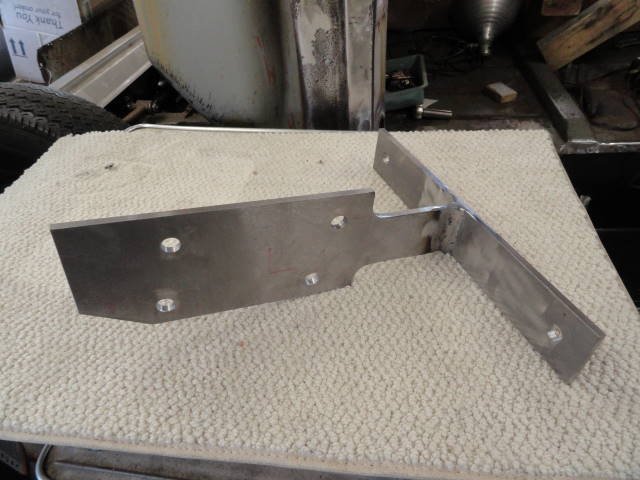
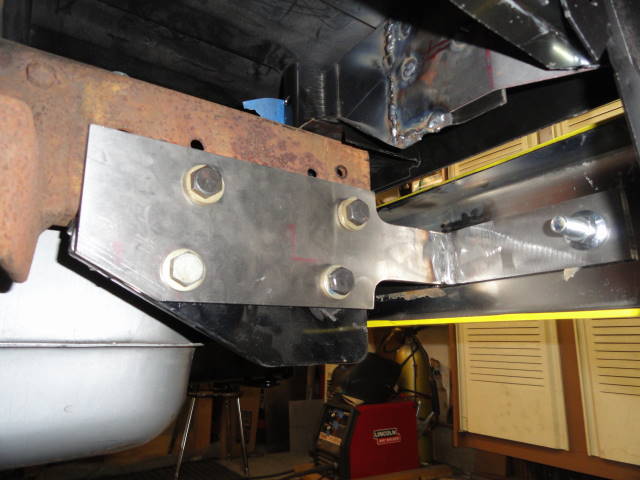
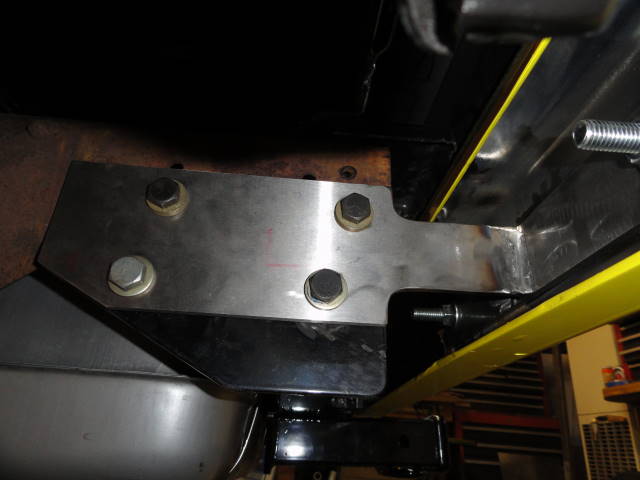
With the receiver hitch modified and clamped into place, the mounting brackets were made to hold the bumper and the hitch. Four pieces of 1/4" steel plate was used, two 4" x 12" for the side plates and two 2" x 13" for the bumper plates. The plates were drilled to pick up existing holes in the bumper and the frame. New holes were drilled to bolt up with the hitch then the plates were welded together to make the finished bumper brackets and allow for the hitch to bolt to them.
Next came the modification and installation of the step supports. With the new bed and cross braces, the step supports didn't line up, but by swapping them side to side and turning them around backwards, they lined up with the steps and just the height had to be adjusted. The other change was to add captured mounting nuts into the cross brace to bolt the supports to.
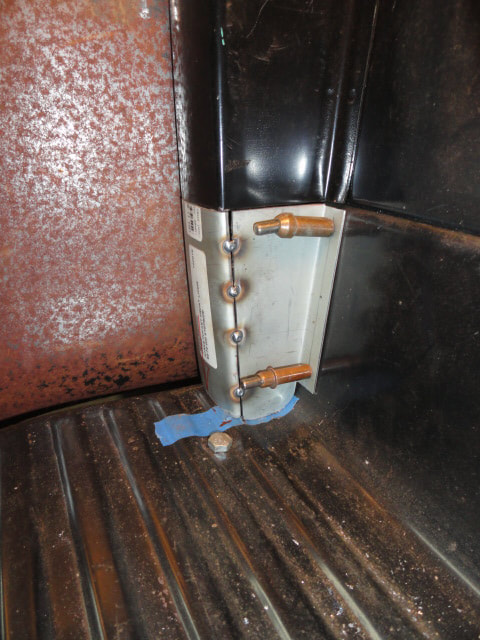
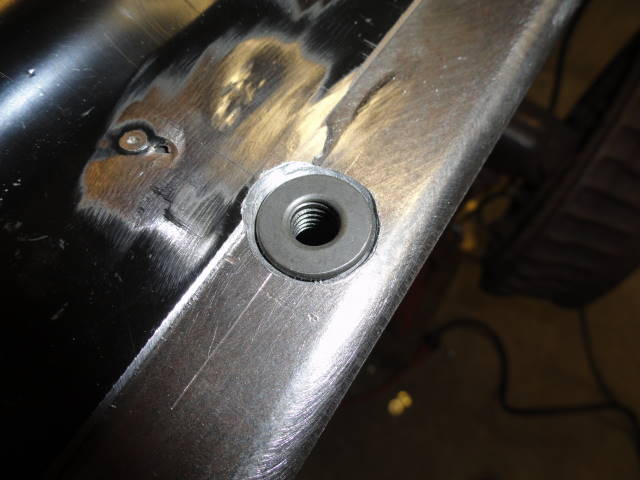
At the same time I did the step braces, I added nut plates to the side supports on the bed. This was done by drilling 1/2" holes then counter sinking them which allowed the flange nuts to sit flush and be welding in.
The gas filler door was added to the left fender, check out the "Installing Rear End and Gas Tank" page for details.
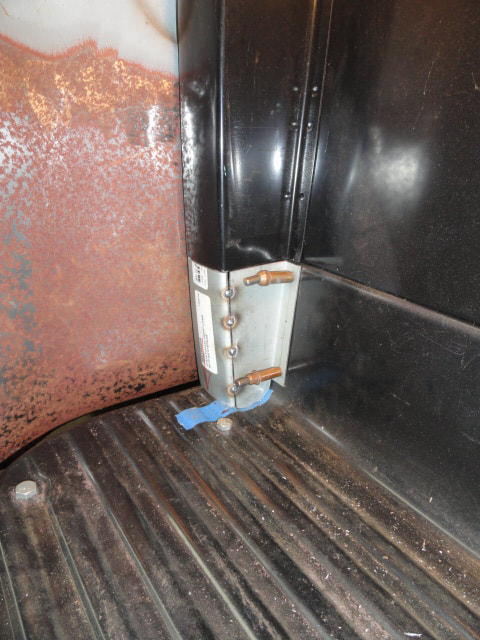
The receiver hitch was modified by removing 1 1/4" in height of the side mounting plates. This was done by cutting a section out of the end plates and welding the top return portion of the end plates back on. Not having a lot of room to work with, a mounting bolt will come through the side in the closed off area of the main cross tube. A 3/4" hole was drilled into the plate and a flange nut inserted and welded into place.
With the receiver hitch modified and clamped into place, the mounting brackets were made to hold the bumper and the hitch. Four pieces of 1/4" steel plate was used, two 4" x 12" for the side plates and two 2" x 13" for the bumper plates. The plates were drilled to pick up existing holes in the bumper and the frame. New holes were drilled to bolt up with the hitch then the plates were welded together to make the finished bumper brackets and allow for the hitch to bolt to them.
Next came the modification and installation of the step supports. With the new bed and cross braces, the step supports didn't line up, but by swapping them side to side and turning them around backwards, they lined up with the steps and just the height had to be adjusted. The other change was to add captured mounting nuts into the cross brace to bolt the supports to.
At the same time I did the step braces, I added nut plates to the side supports on the bed. This was done by drilling 1/2" holes then counter sinking them which allowed the flange nuts to sit flush and be welding in.
The gas filler door was added to the left fender, check out the "Installing Rear End and Gas Tank" page for details.


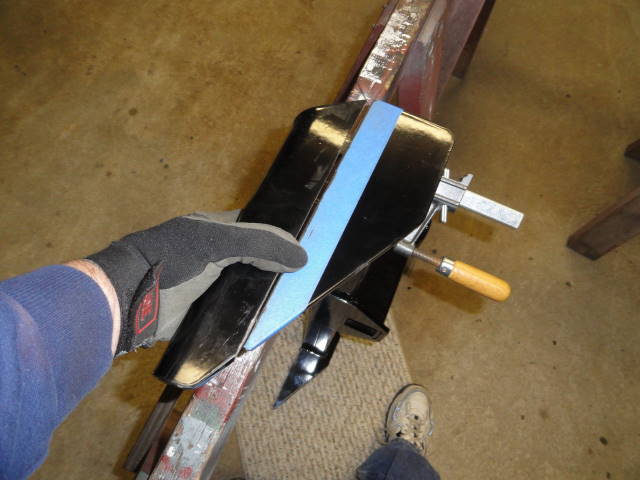


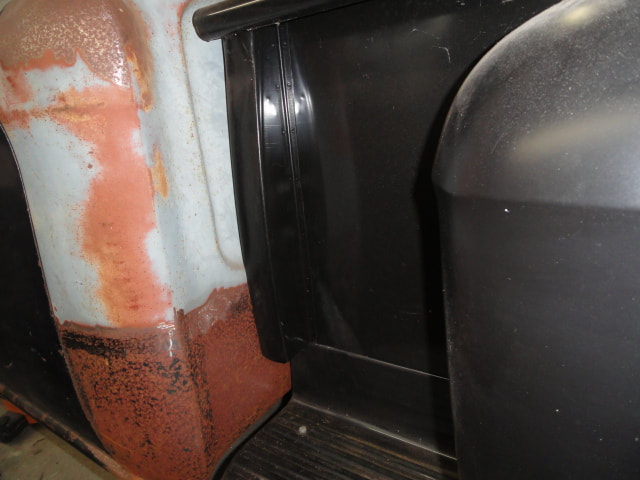
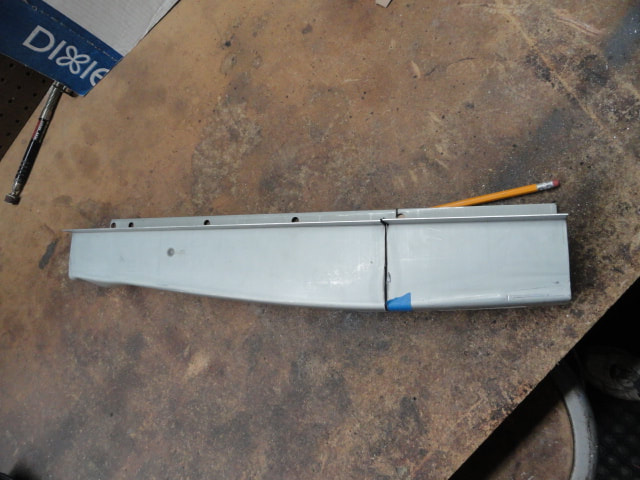
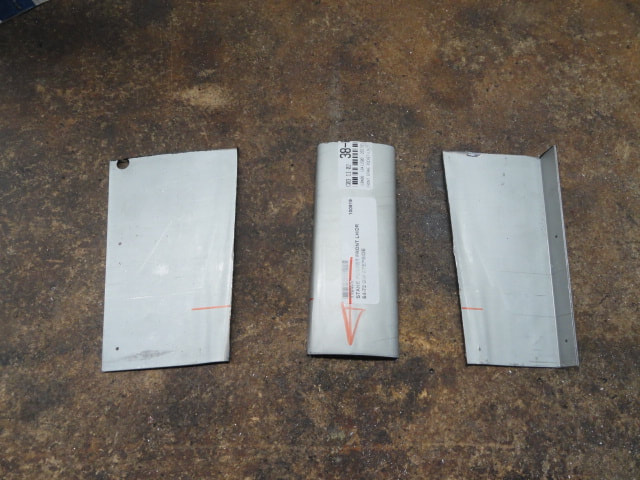
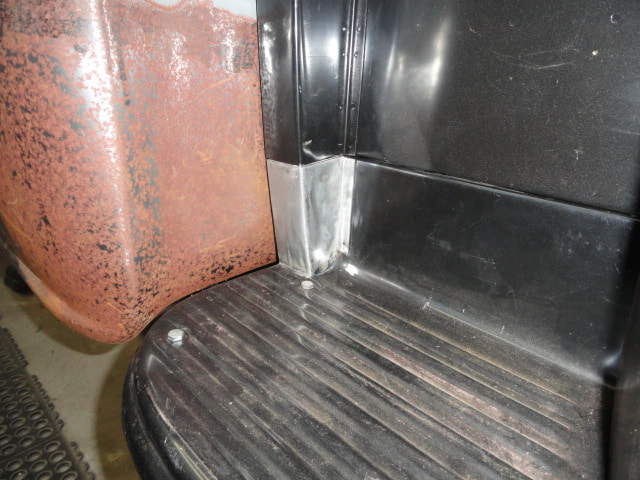
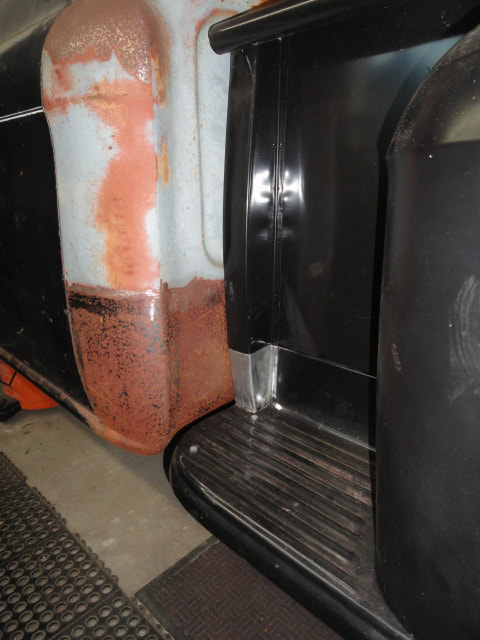
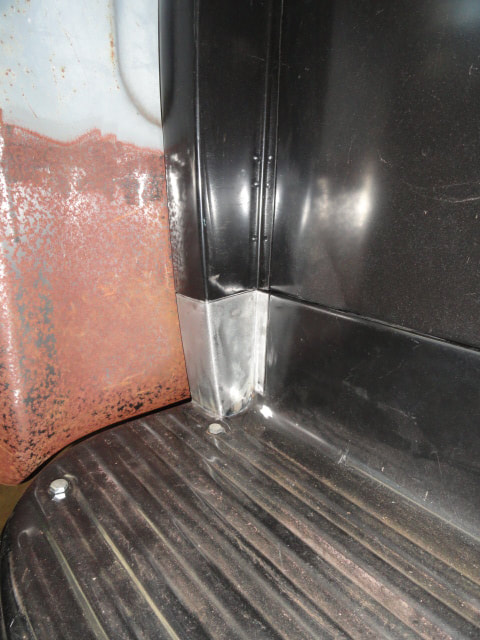
Something that has always bothered me about the step-side truck bed was the front stake pockets, to me they don't look finished the way they just end at the seam between the bed side and the bed step panel. I decided to extend the stake pocket down to the step, but with the face of the stake pocket being a compound curve, it would be difficult to make. I made a pattern of the side profile and determined there was a symmetrical curve to it allowing the ability to cut a right and left side extension from just one stake pocket, so I bought one from LMC. To make the pocket extension I started by cutting a 6" piece off the new stake pocket, then cut that piece apart giving me the face and two side pieces. After some cutting and fitting the extension began to take shape and was tack welded together. The extension was to be attached to the side step panel, so it had to be removable from the main stake pocket. To finish off the extension, stepped key pieces were welded to the top inside edges of the extension that would slide inside the bottom of the main stake pocket and keep everything in alignment and provide a means to seal the extension off keeping water from getting into the extension. I went ahead an cut a 3/4" hole in the step under the bottom of the extension so any water that might get in, has a way out. I'm happy how the extension came out and how the stake pocket now looks finished.