MGB GT DETAIL SHOTS
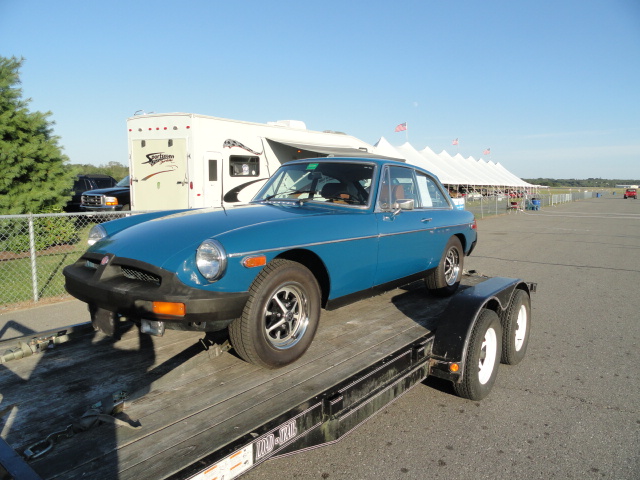
This is what she looked like at the 2013 Owl Head action, rubber bumpers and all. Admittedly it was not the car I went to the auction to buy, but when my first choice went for too much money I jumped on the MG.
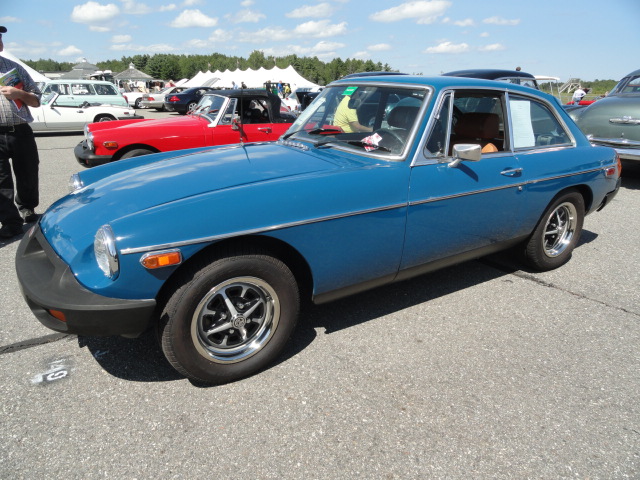

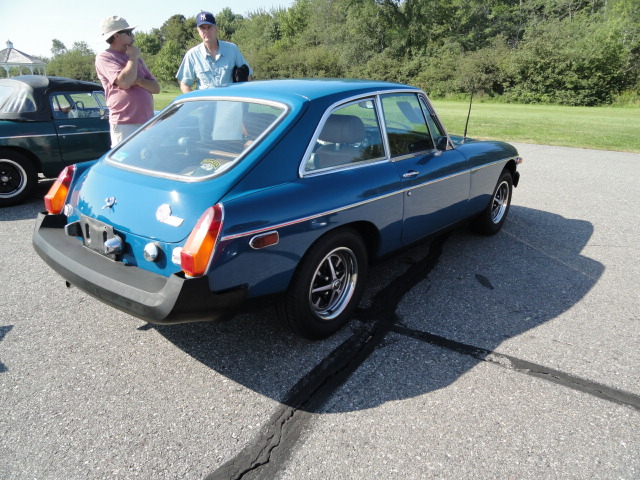

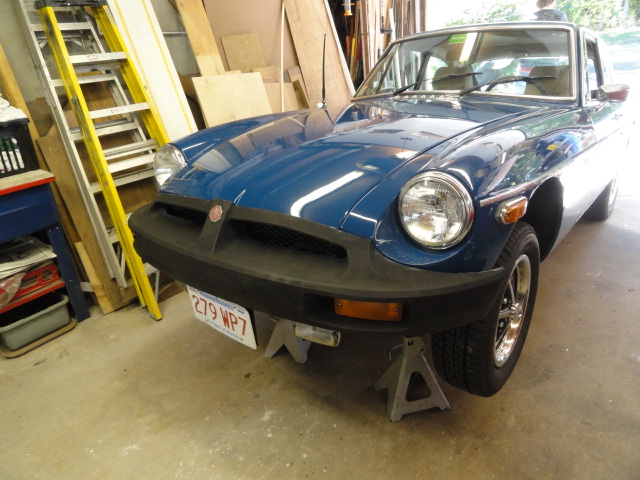
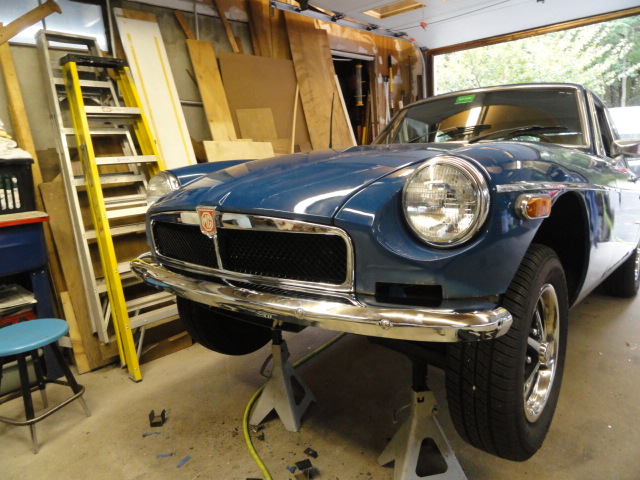
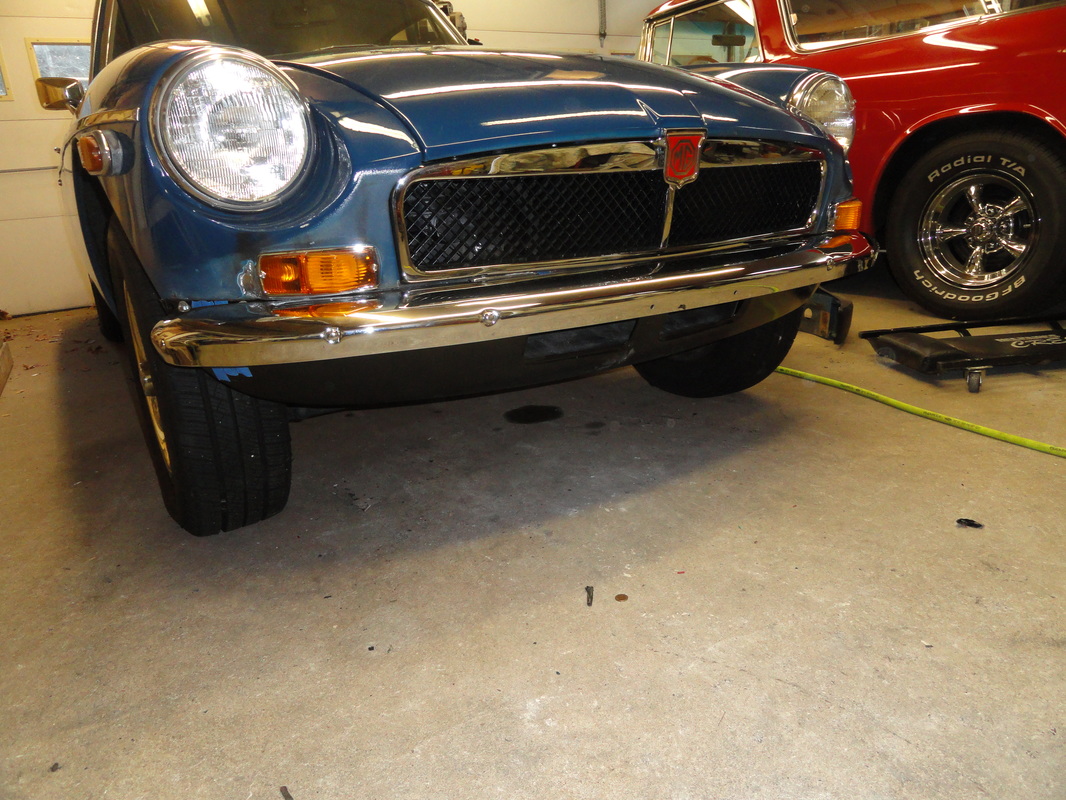
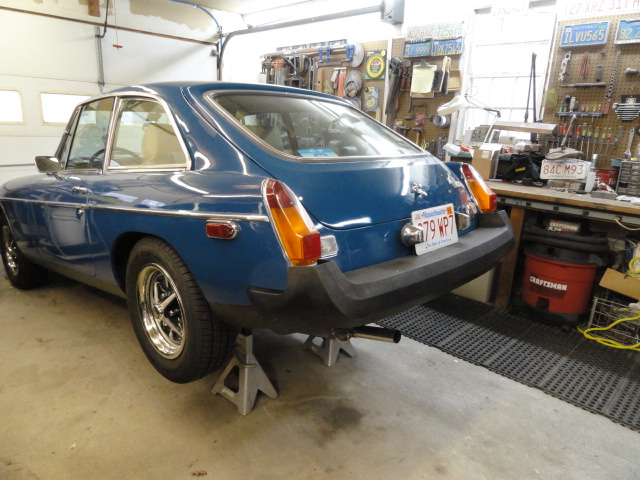
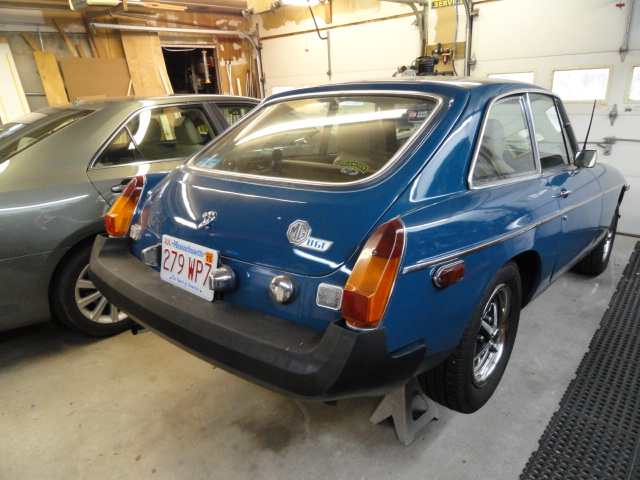
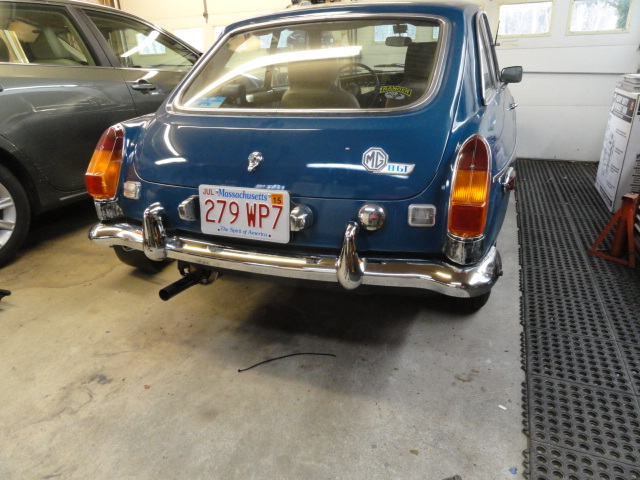
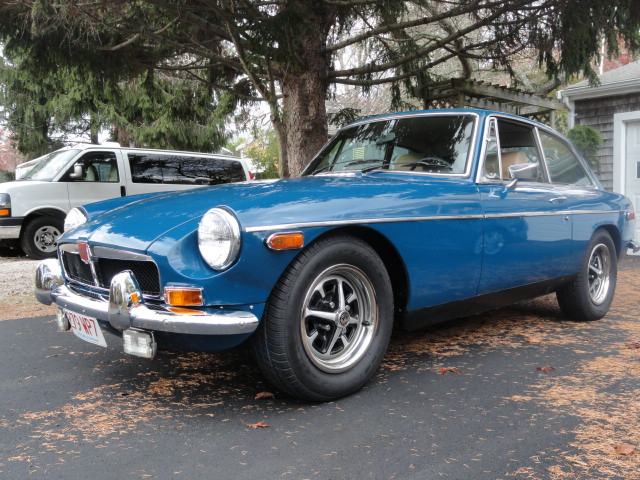
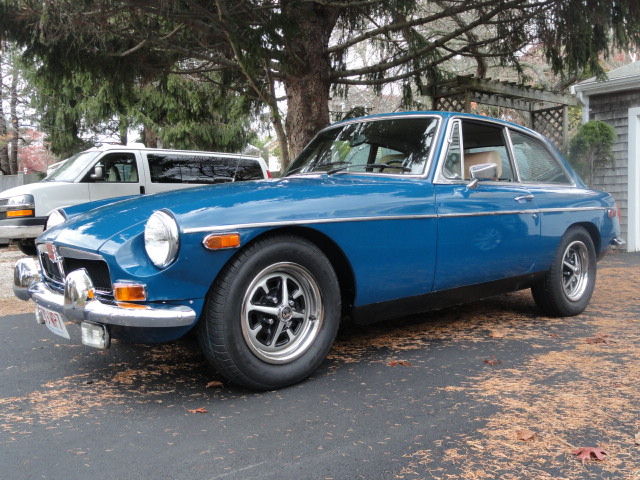
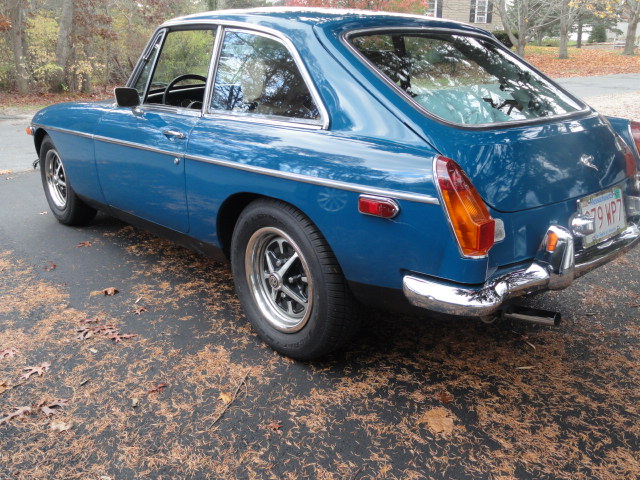
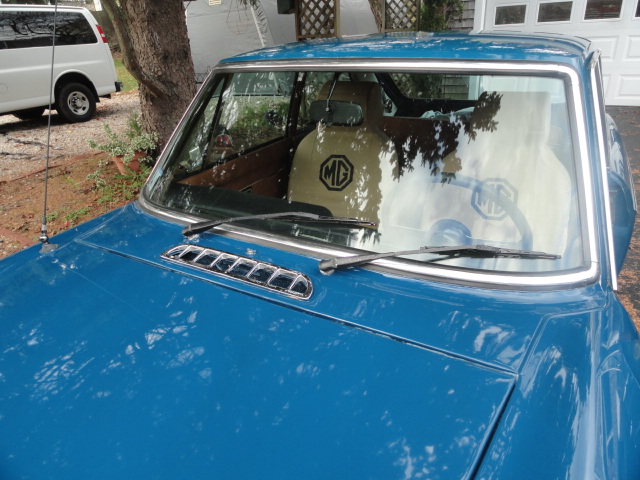
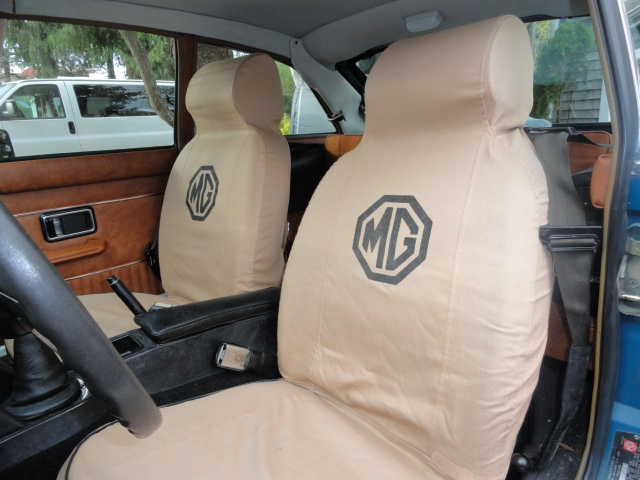
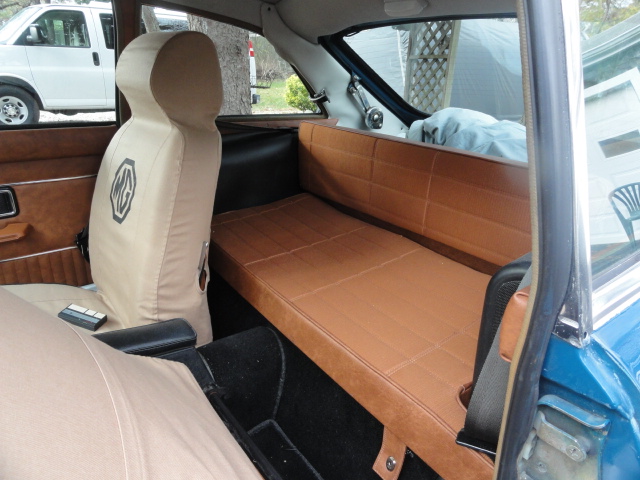
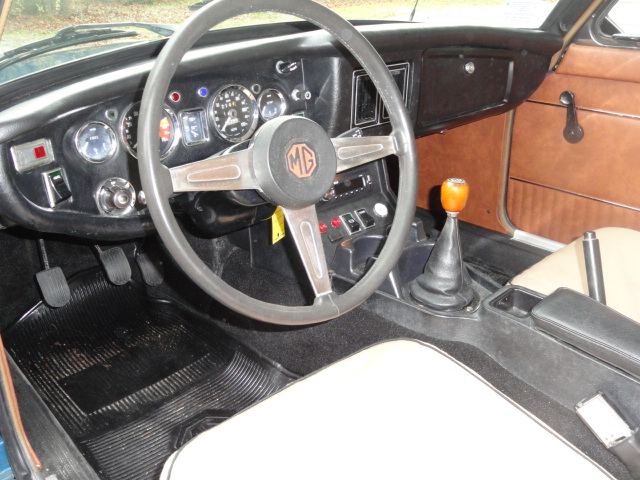
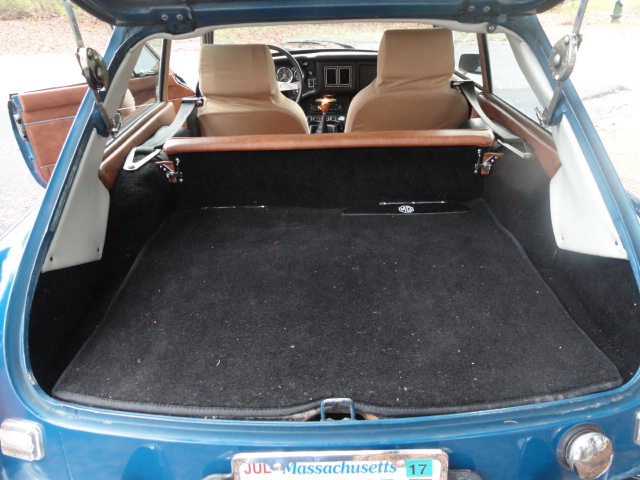
Here she is in current 2015 dress, new chrome bumpers, paint all detailed, new original fabric interior with seat covers installed.
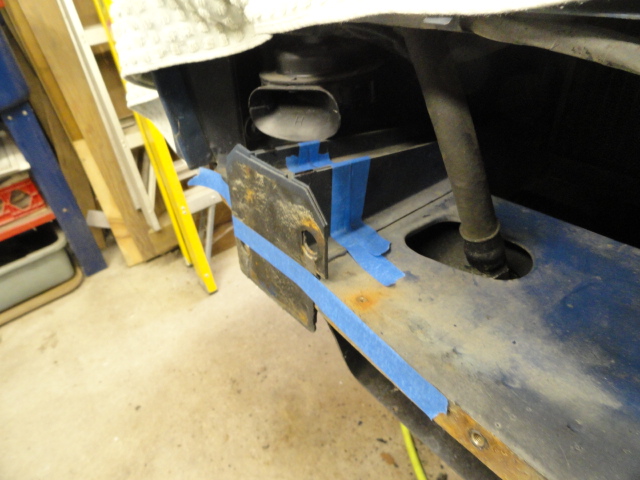
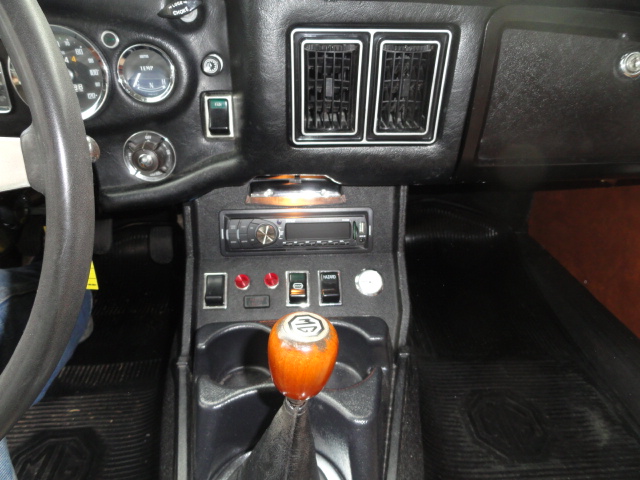
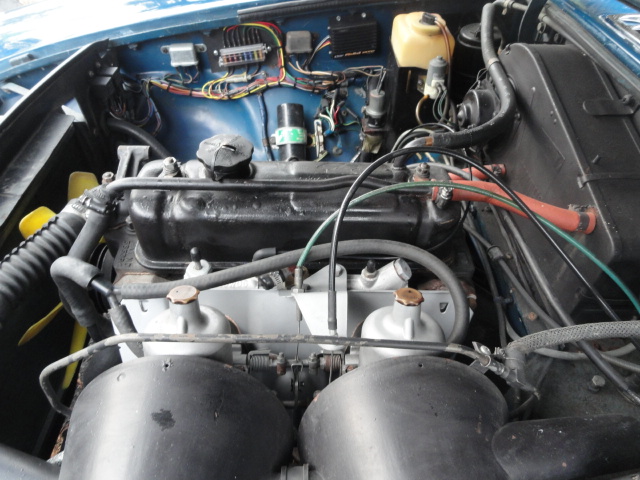
What you can’t see is all the work that went into repairing and updating the wiring so all the normal pitfalls with the stock Lucas system have been corrected with the installation of a blade style fuse block which increases the number of fuses allowing the circuits to be separated. By utilizing this type of fuse block greatly improves the electrical connections with the fuses which lead to the original systems failures. We also added control relays to the head lights and fog lights which again improves the switching connections eliminating problems with the old switches. All work was performed by our own Hot Wired by JAXCARS.NET, see our services page for more details.
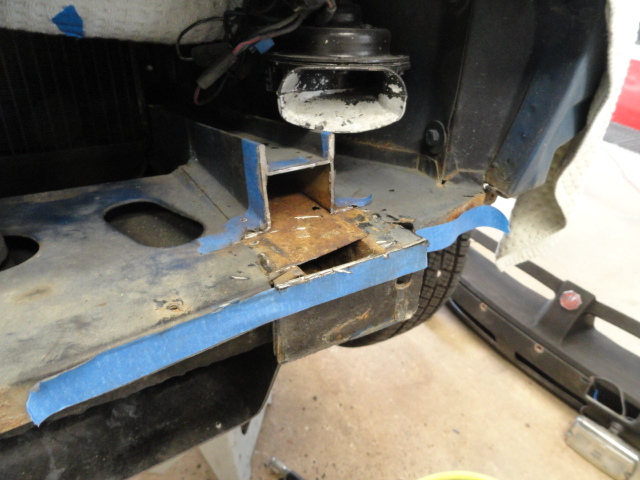
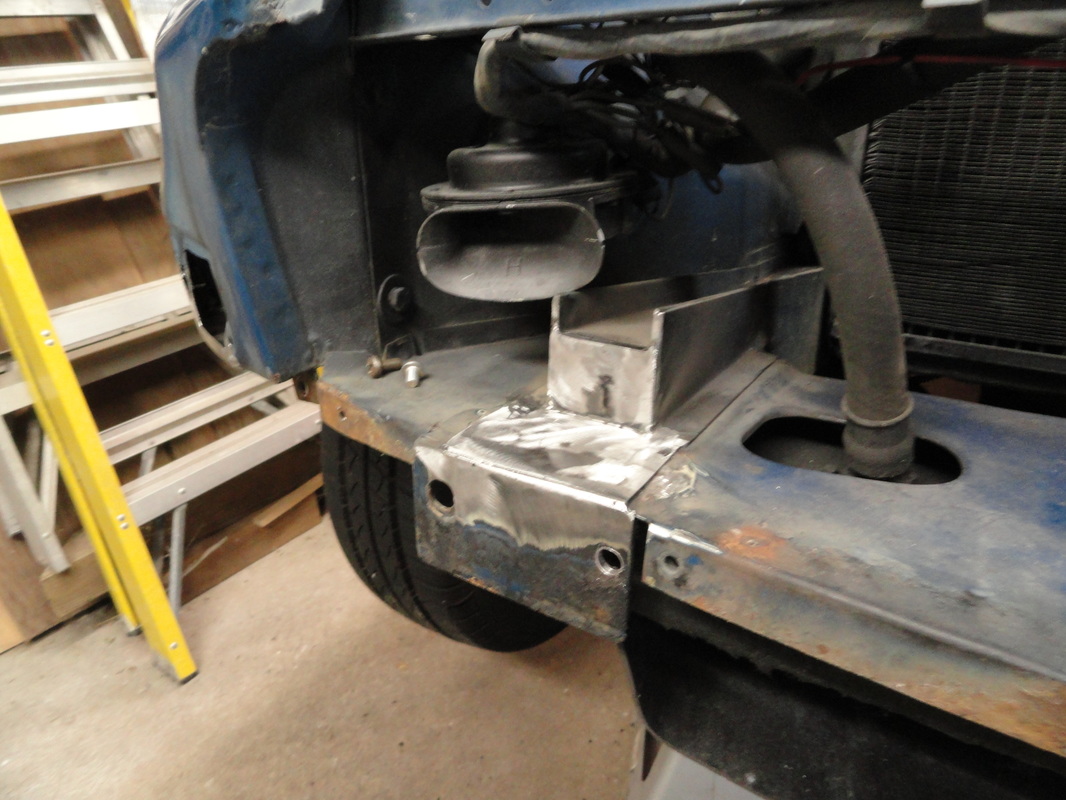
The front ride height has been lowered to the stock chrome bumper height. If you look closely at the images of the rubber bumper and compare to the chrome bumper you can see the nose has dropped about one inch. We used the lowering “A” arms produced by our own JAXCARS.NET, see the services page for more details.
What you can’t see is all the work that went into repairing and updating the wiring so all the normal pitfalls with the stock Lucas system have been corrected with the installation of a blade style fuse block which increases the number of fuses allowing the circuits to be separated. By utilizing this type of fuse block greatly improves the electrical connections with the fuses which lead to the original systems failures. We also added control relays to the head lights and fog lights which again improves the switching connections eliminating problems with the old switches. All work was performed by our own Hot Wired by JAXCARS.NET, see our services page for more details.
The front ride height has been lowered to the stock chrome bumper height. If you look closely at the images of the rubber bumper and compare to the chrome bumper you can see the nose has dropped about one inch. We used the lowering “A” arms produced by our own JAXCARS.NET, see the services page for more details.
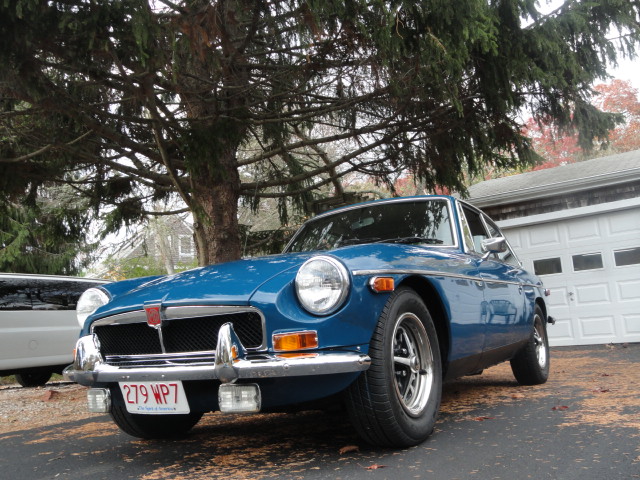
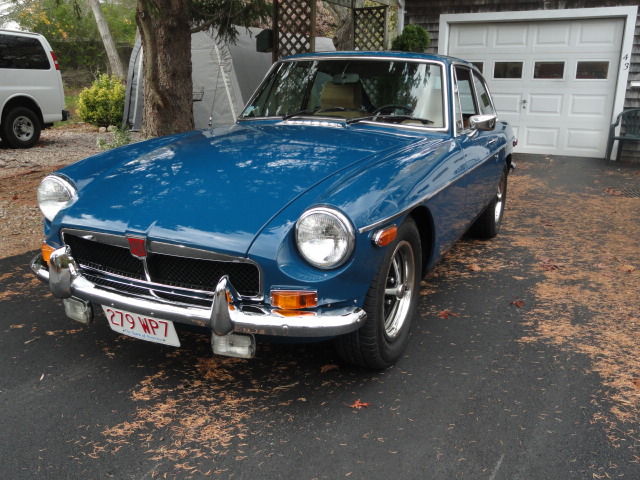


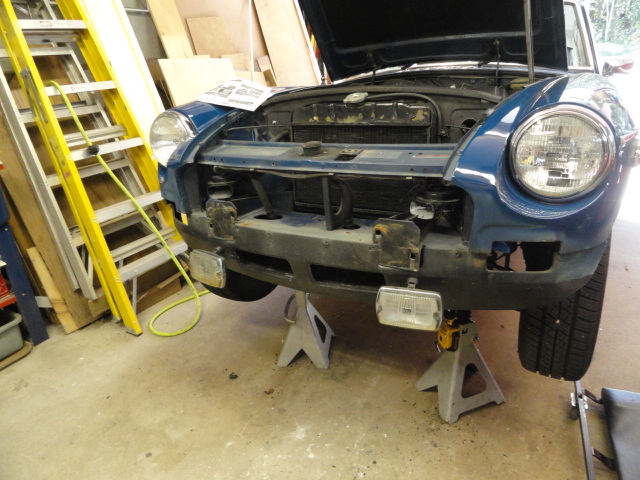
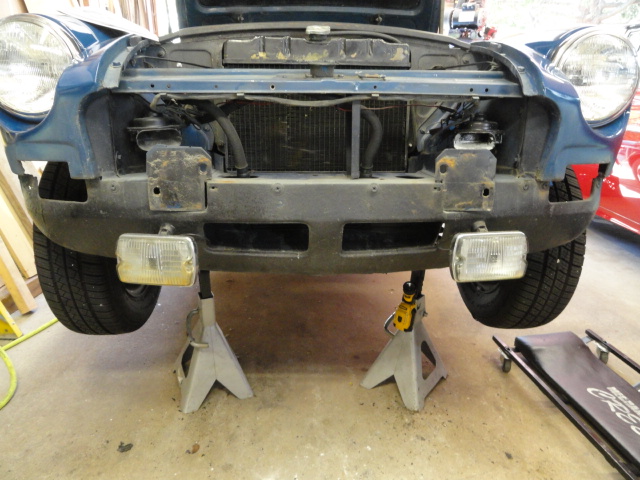
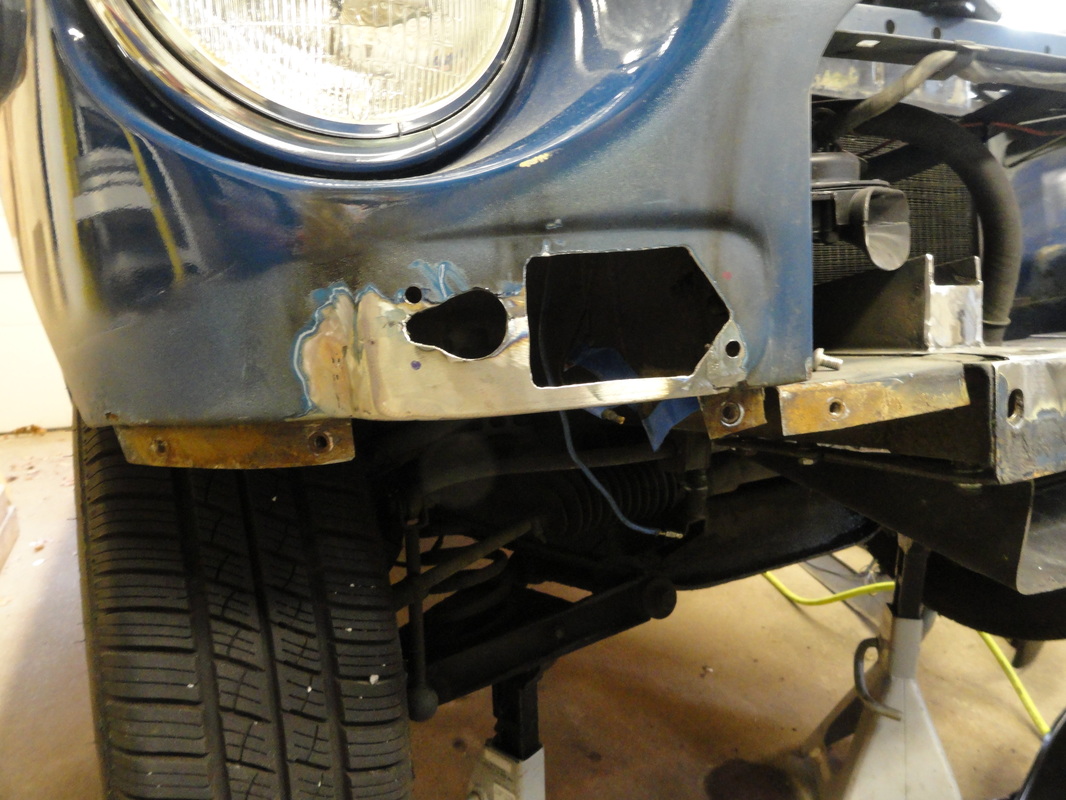
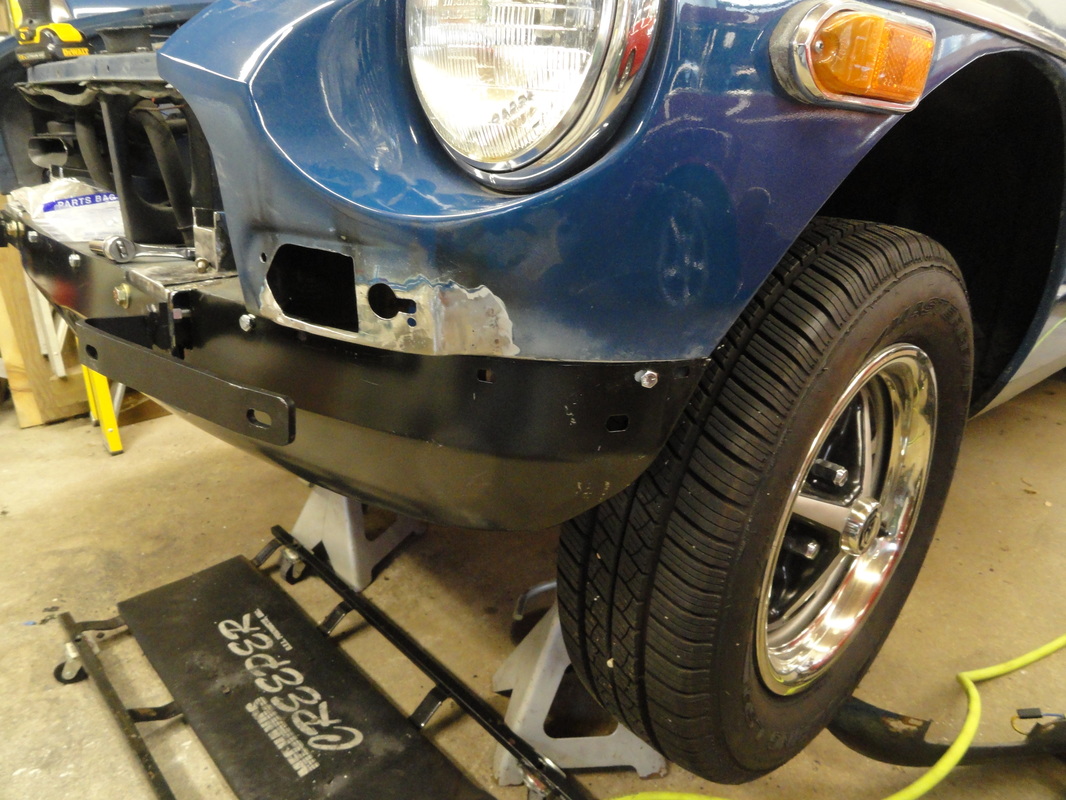
The chrome bumper conversion was interesting to perform and entails more than simply unbolting the old rubber bumpers and bolting on the chrome. In the front, the bumper mounting structure in the car has to be modified which requires cutting and welding. The front turn signal lights are moved which again requires cutting and welding of body panels. The lower valance gets replaced which takes a bit of work to cut and fit to the body.
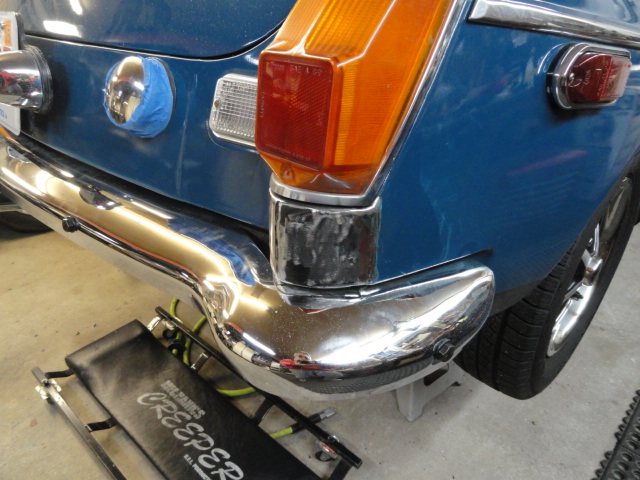
The rear bumper does un-bolt and the new bumper bolted on, but again there is body work needed to finish out the rear corners below the tail light; more cutting and welding.
Once all the body work is complete, you then have to tackle re-painting both ends of the car, and if you don’t have these skills, then this is a challenge.