Engine
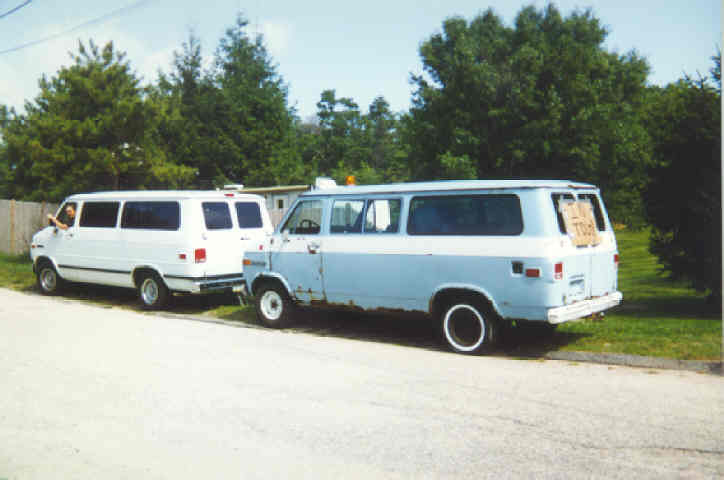
A 1976, 3/4 ton, Chevy van was purchased for $200.00 and brought home for the engine, transmission and steering column. The van was picked because it was known to be running before it was parked by the past owner and that the 350 engine in 3/4 ton vans had 4 bolt mains. After taking what we were after, the hulk was dragged away by a local wrecking yard at no cost, if I had a way to transporting it I could have recouped by investment; oh well it was gone and the wife was happy.

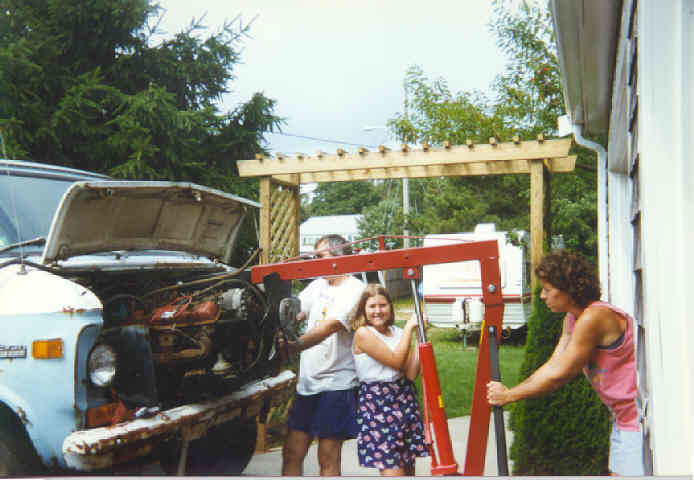
After removing the 350 from the donor van, it was cleaned and a compression
check was made. First sign of trouble, very low readings. The heads
were removed and the worst case scenario was discovered, broken rings had
scored the cylinder walls. Time for plan "B".
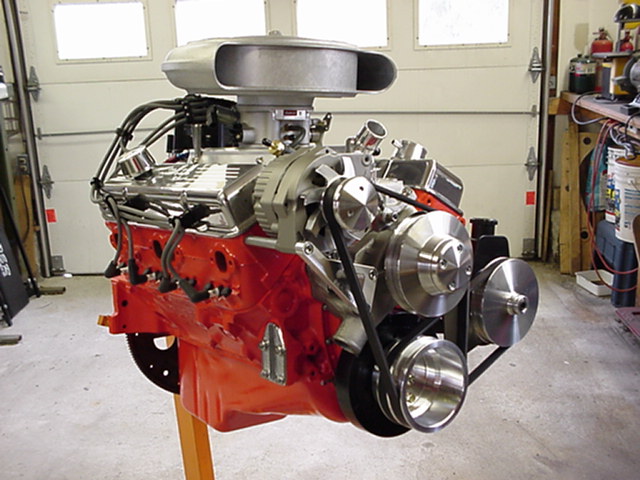
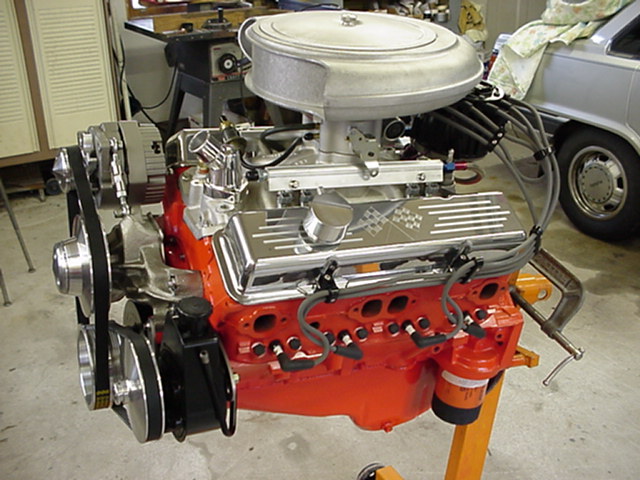
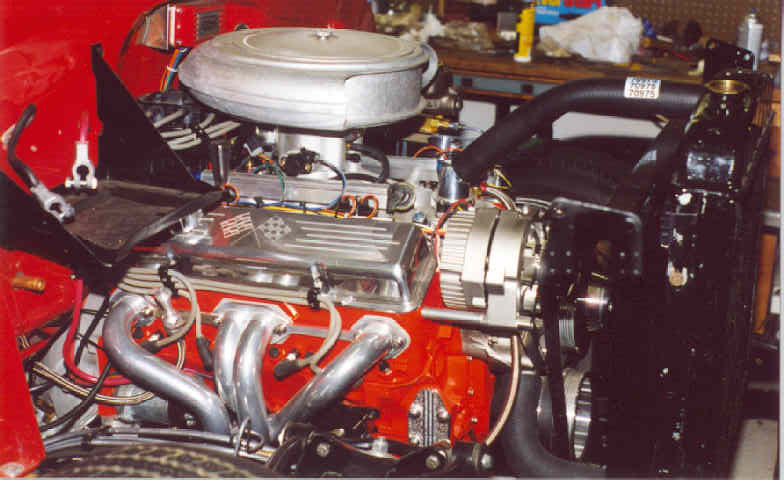
I completely disassembled the engine and took it to Dave at Mid-Cape Automotive Machine Shop in Hyannis, MA. The goal was to build a street drivable engine, capable of 350 hp and keep it below 5500 rpm. Dave and his crew did all the normal machine work including boring the cylinders .030” over, increasing the compression to 9.5/1, installing a mild street cam (204o intake / 214o exhaust, at .050" lift), re-worked the heads with bigger valves (.150” exhaust / .194” intake). They reassembled the lower end and the heads. I put the heads back on, added all the bright work as well as the fuel injection.
The injection system is an Edelbrock Pro-Flo Multi-Point Injection system. This system is designed for street application where the power is made below 5500 rpm and included the intake manifold, injectors, fuel rails, throttle body, fuel pump, all the sensors and the engine control computer. It also has its own calibration module so a lap top computer is not needed.
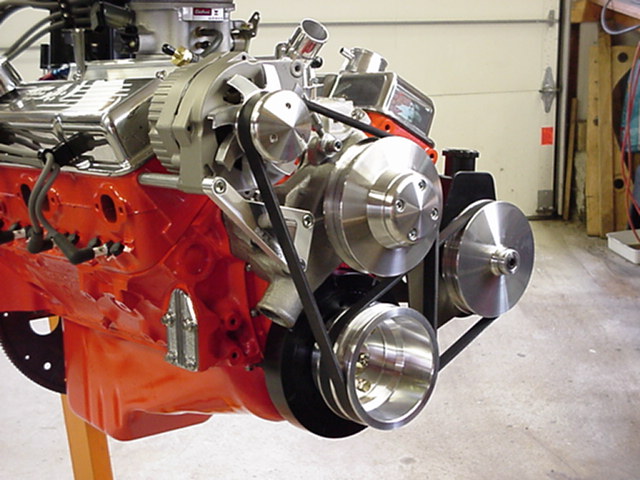
The pulley set up came from March Performance Pulleys, the valve covers and breathers are from Billet Specialties, the Oil and Transmission dipsticks are Lokar and the air cleaner is from Bitchin Products.
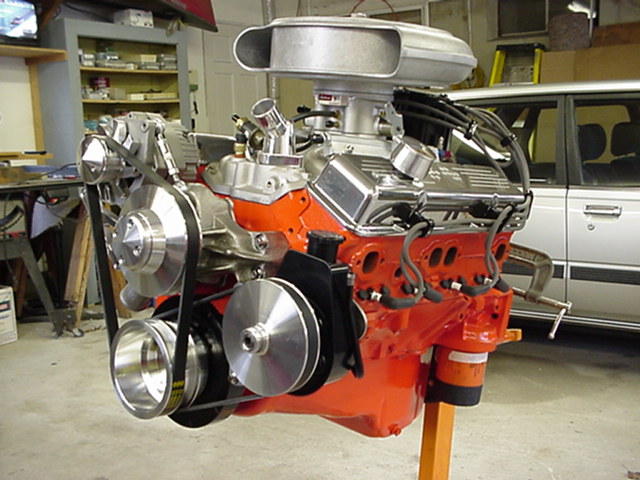
I completely disassembled the engine and took it to Dave at Mid-Cape Automotive Machine Shop in Hyannis, MA. The goal was to build a street drivable engine, capable of 350 hp and keep it below 5500 rpm. Dave and his crew did all the normal machine work including boring the cylinders .030” over, increasing the compression to 9.5/1, installing a mild street cam (204o intake / 214o exhaust, at .050" lift), re-worked the heads with bigger valves (.150” exhaust / .194” intake). They reassembled the lower end and the heads. I put the heads back on, added all the bright work as well as the fuel injection.
The injection system is an Edelbrock Pro-Flo Multi-Point Injection system. This system is designed for street application where the power is made below 5500 rpm and included the intake manifold, injectors, fuel rails, throttle body, fuel pump, all the sensors and the engine control computer. It also has its own calibration module so a lap top computer is not needed.
The pulley set up came from March Performance Pulleys, the valve covers and breathers are from Billet Specialties, the Oil and Transmission dipsticks are Lokar and the air cleaner is from Bitchin Products.

On Nov 14, 2004, the engine was started for the first time and had to be the fastest and easiest I ever had a new engine start. Our jubilation was short lived as the engine was running at 2300 rpm and would not slow down any lower. At first I thought this was a pre-set speed to allow for the cam break in, not so. After checking for such things as the throttle plates be held open, a bad idle servo and leaks in the intake manifold, Edelbrock help desk was contacted. They were not of much help other than the problem had to be an intake leak. In order to run that fast, the leak had to be big, so I again did a complete visual inspection. This time, with the idle servo off the back of the throttle body, I could see that there was a vacuum port with a factory plug missing. Once this was replaced the engine ran as it should.
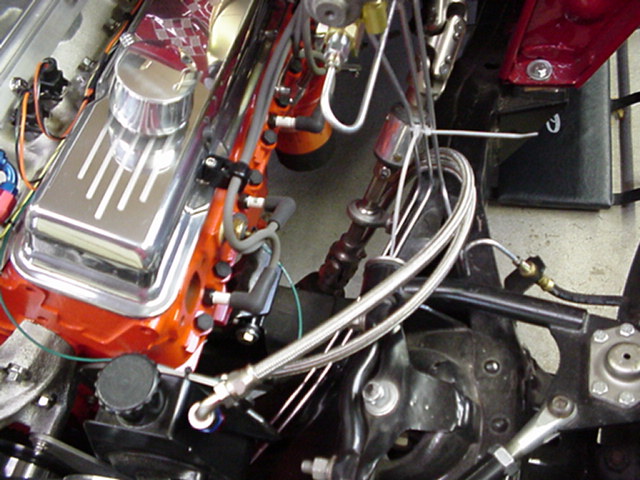
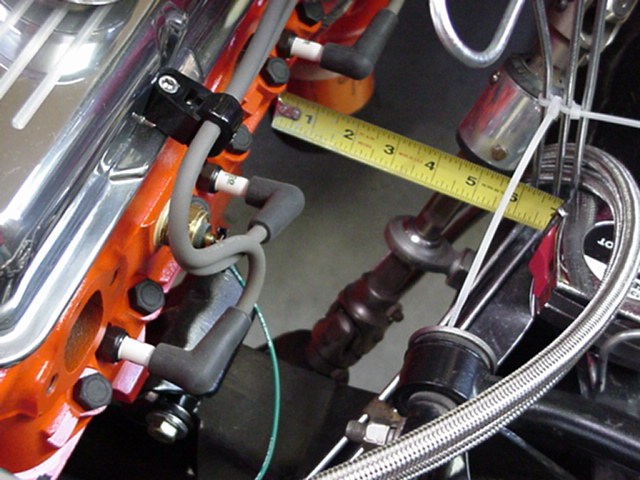
Next the belt for the power steering pump has been installed and with a 50-50 chance of guessing which connection was which on the steering rack I got it wrong, once the lines were swapped the steering was alive.
Lastly the transmission was put into gear and to my amazement, the wheels did turn, good sign.

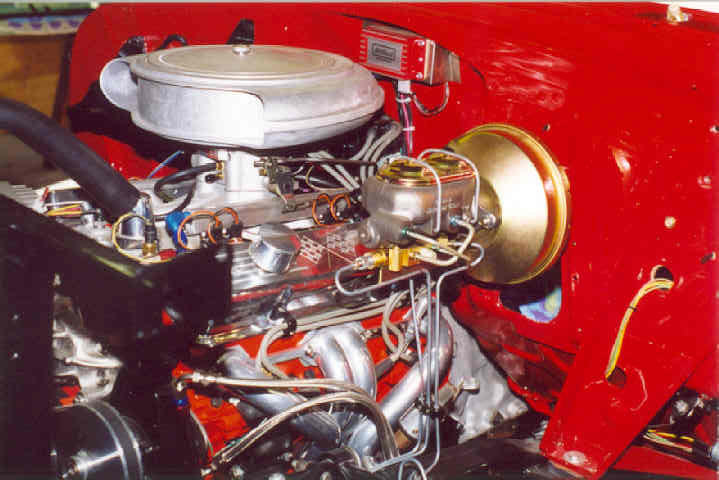
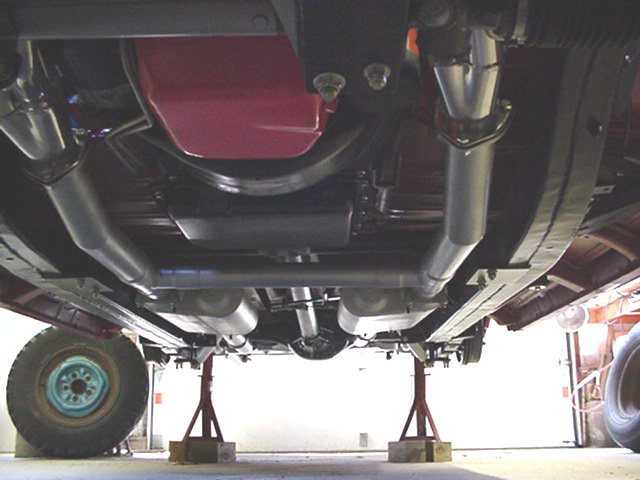
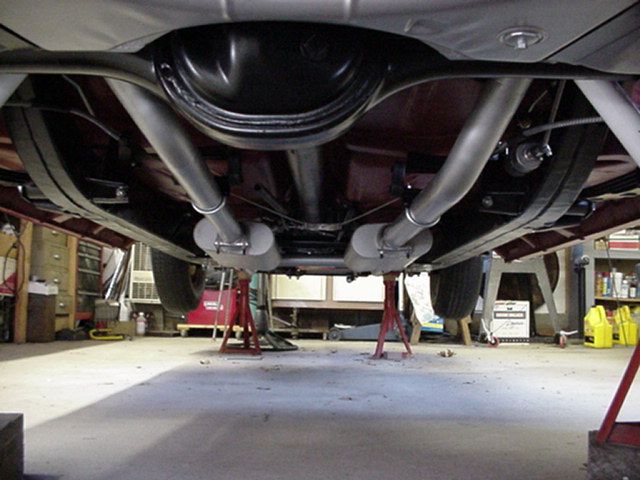
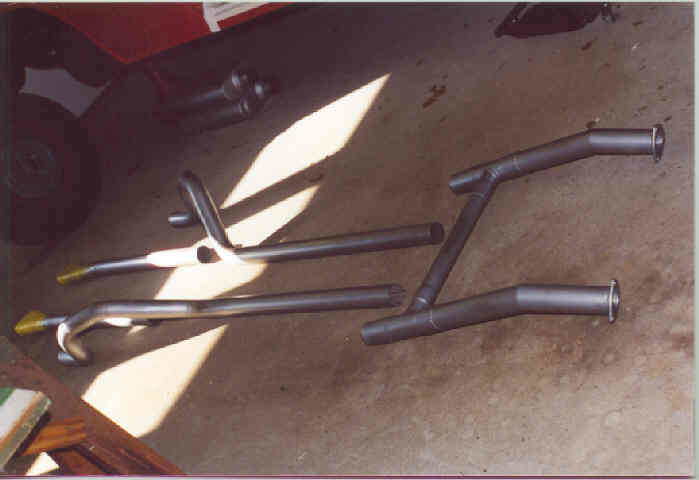
The exhaust system starts off with Headers by S&S Headers in Arizona which were picked because they have a long tube length (develops power below 5500 rpm) and would fit with the rack-n-pinion steering.
Next comes Flowmaster Delta Flow 50 series mufflers with 2 1/2" inlet, mistake, too load for family cruising so these were later changed for the 70 series Flowmaster’s. These sound better but we still get a part throttle drone. I also used one of Flowmaster’s 2 1/2" Tail pipe kits (made for 55 Sedan), mistake. The kit was good and I'm sure it would have worked fine on a Sedan, but not on the Nomad. Instead of paying to ship the kit back, I cut it apart and reused the bends to fabricate the tail pipes. The better way to go would have been to just buy an assortment of elbows and fabricated from that. I also might re-think the 2 1/2" pipe, it is real hard to fit around the gas tank, 2 1/4" would have been a lot easier and the performance wouldn't suffer. An "H" pipe was also worked into the system, again a kit was used, not needed, all you really need is a 2" piece of pipe.
The system was ended with a set of chrome exhaust tips by Megs.